First impression
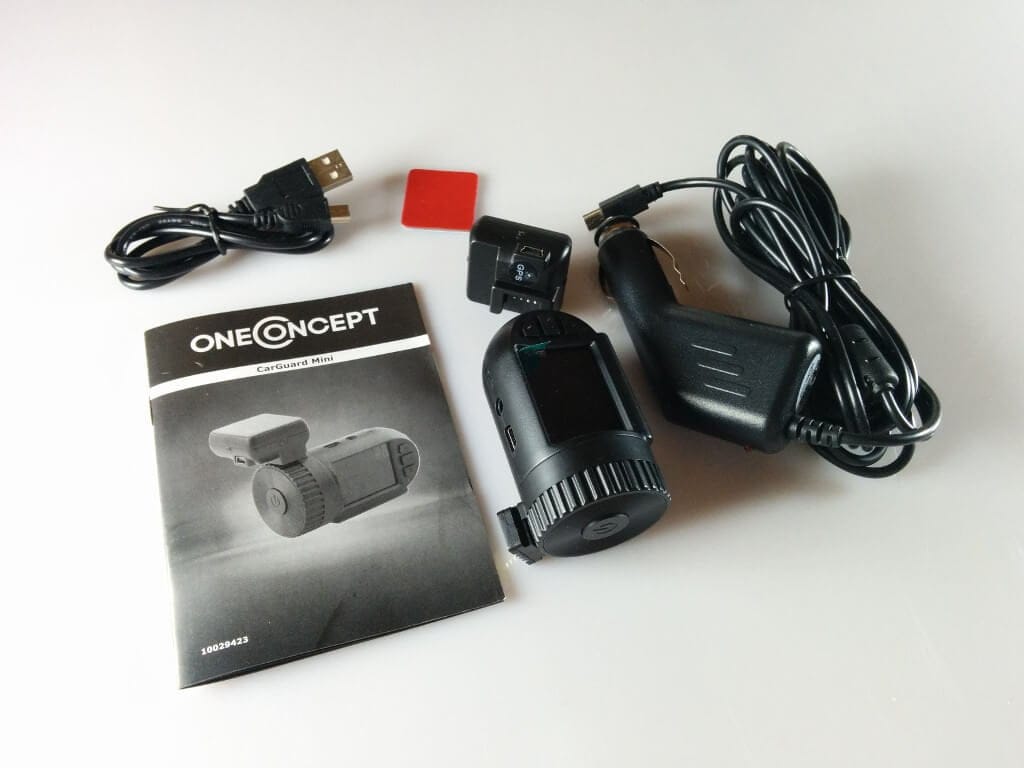
The OneConcept Dash Cam was delivered with a holder, which also includes the GPS module, two adhesive pads for attaching the holder, an 12V car power supply, a USB data or charging cable and a German operating manual.
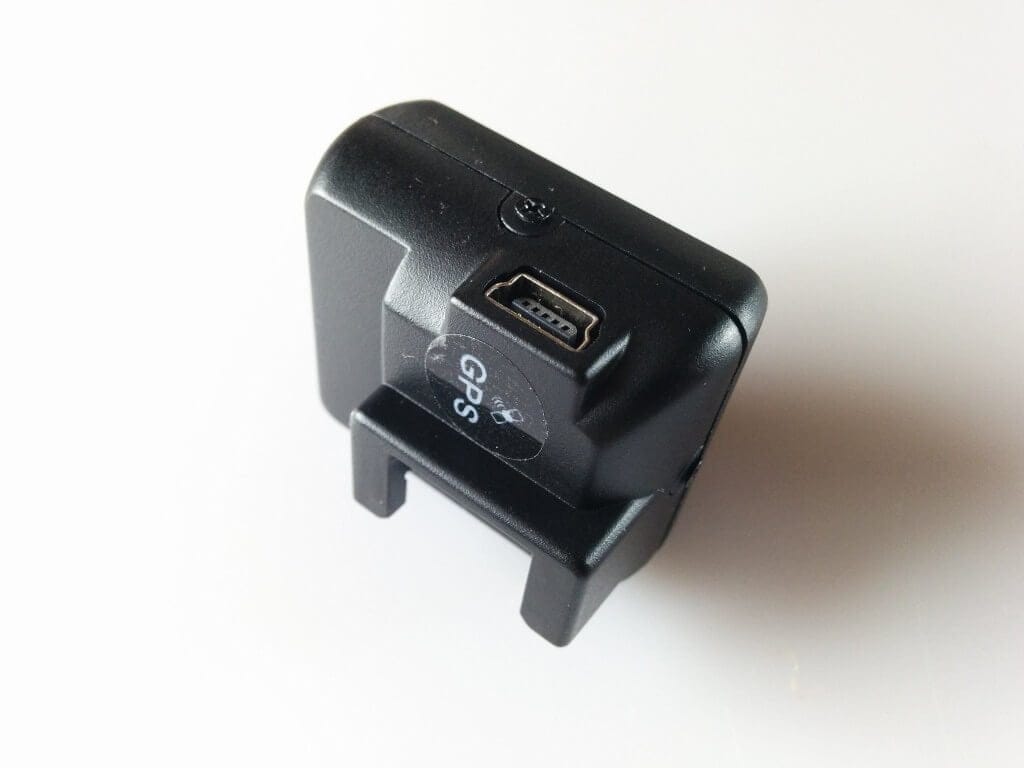
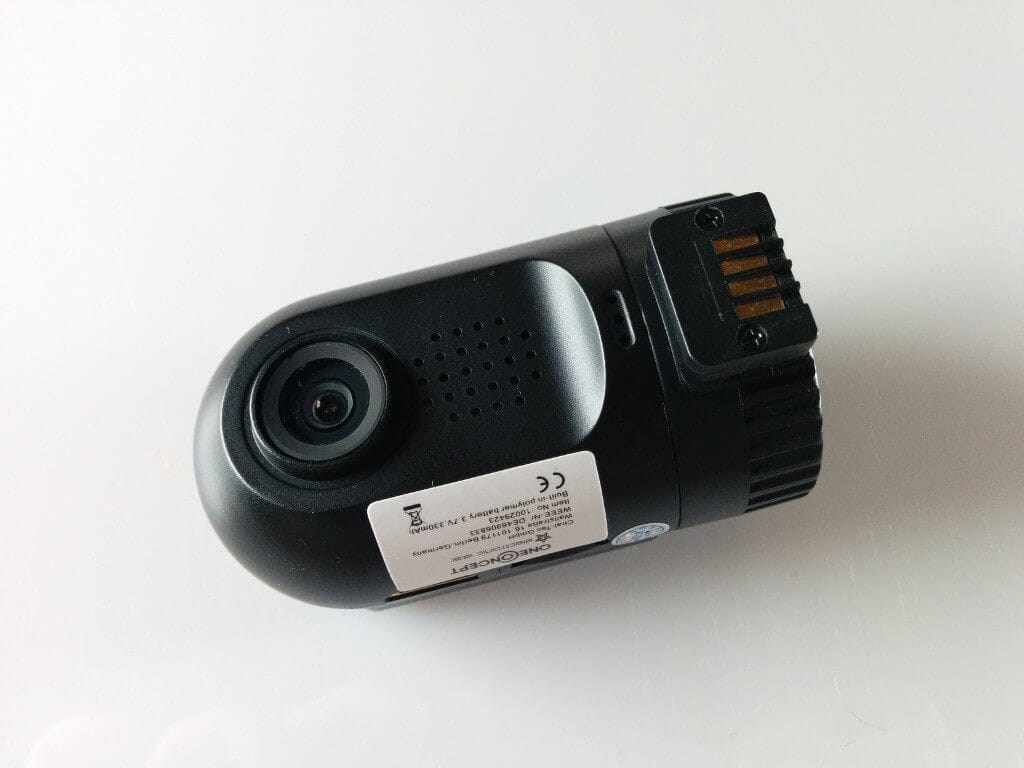
The case of the camera is made entirely of plastic, the workmanship is still good. There are several connection options on the housing. Here we have a USB port for data transmission, an AV output, an HDMI port and a mciro SD card slot. The GPS module, which also serves as a holder also has a USB port, which is used for power supply. The holder or the GPS module are simply connected via the PIN connector. The camera is fastened together with the holder via an adhesive pad located on the GPS module.
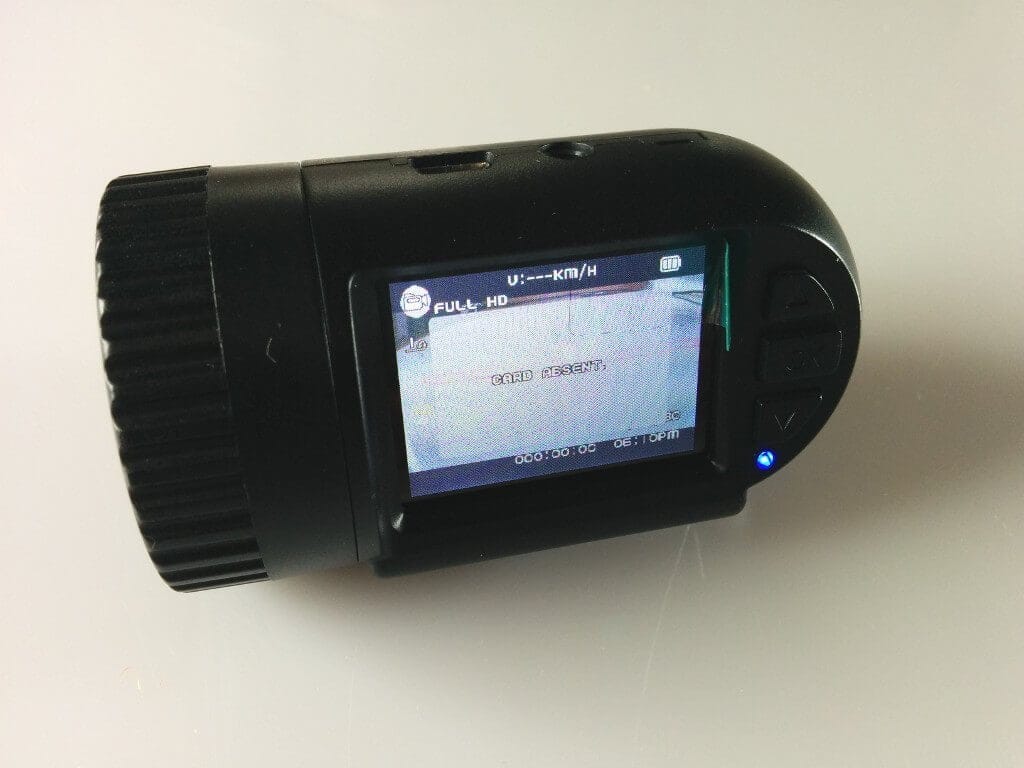
The OneConcept Dash Cam also has an 1.5 inch large LCD display. Next to it are 3 buttons for operating the camera.
OPERATION
To start up the camera, you can use the built-in 350mAh battery or the included 12V power supply with car connection. Unfortunately, the camera is not a holder with suction cup, so you have to stick the windshield here. The adhesive pad with GPS unit holds bombproof and can only be removed with a lot of force. Thus, you have to constantly stick the small box on the windshield.
If you have attached the camera and an SD card inserted you can turn it on by pressing the power button. If the camera is connected to the car power supply, it will automatically switch on as soon as the ignition is pressed. A recording is also started automatically. A small LED on the chassis of the Dash Cam indicates whether the camera is turned on and whether a recording is running. If you park your vehicle and switch off the ignition, the camera will also switch off automatically. I did not have to set up the camera. All necessary settings were already active by default, so the camera was ready to go immediately.
Menu
Several settings can be made in the settings menu. However, one should note that no German voice output can be set! A translation is however in the operating instructions. Here is an overview:
Video resolution (1920x1080, 1440x1080, 1280x720) | Image resolution (12MP, 4MP, 3MP, 2MP, 0.9MP) | Sharpness | contrast | Flicker | AE ISO | White balance | AE BIAS | AE Meter Mode | TV Format | AUTO Power Off | Time Setup | Date Time Display | Loop Setting | Motion detection | Stamp | License plate | Display shutdown | Video recording mode | G-sensor sensitivity | GPS | Speed unit | Tones | USB mode | language | Factory settings | Format | Firmware | Delete files | Back up files | Autoplay
There are really numerous settings that can be changed down to the smallest detail.
GPS
With active GPS function additional files are stored with appropriate coordination. In order to synchronize these with the video recordings one needs additional software, which is also available as freeware. The software was not included, so you have to download them separately!
Personally, I did not opt for the software recommended in the manual because it has not been updated for some time.
The GPS module works very well. During a test drive of about 30 kilometers I could not find any deviation. The driven distance as well as the speed were exactly comprehensible.
Video and picture quality
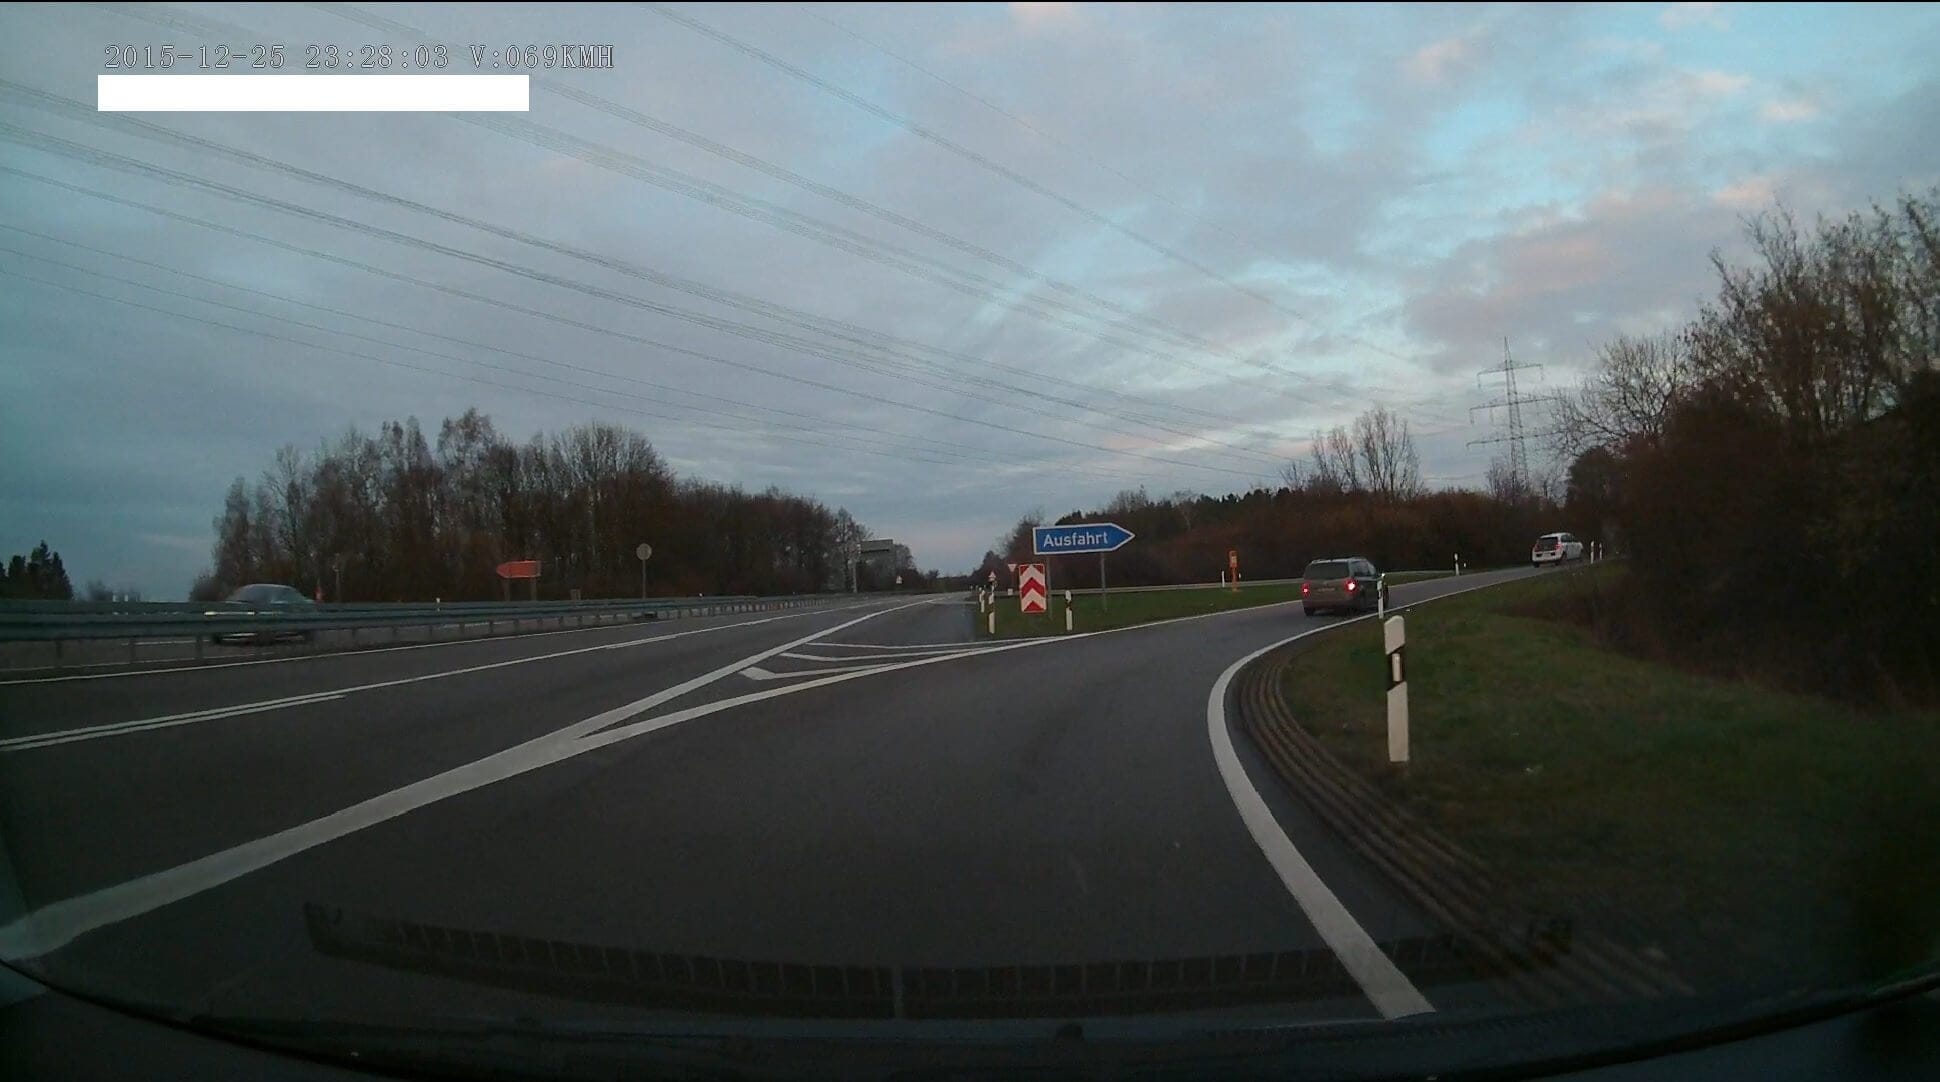
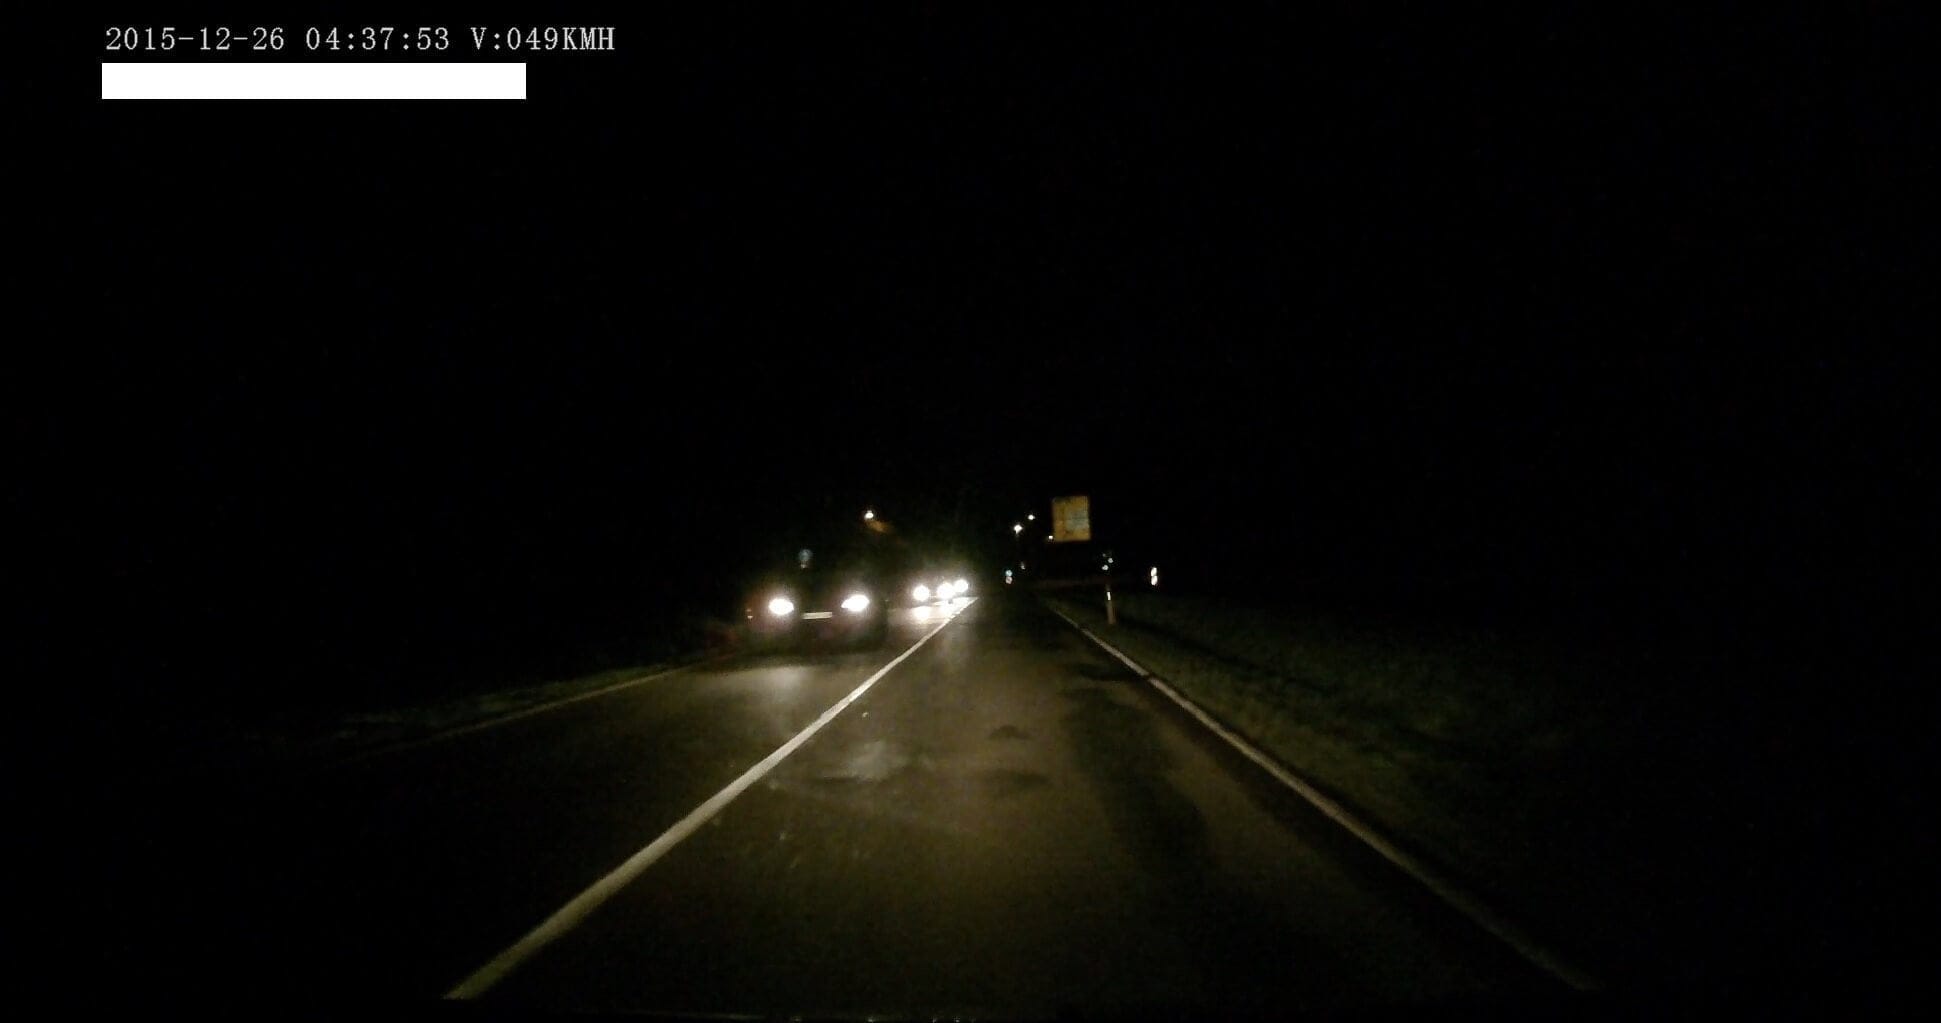
The video and image quality, I would call mediocre to good. During the day, the camera makes quite acceptable shots, which have a slight image noise only in low light conditions. License plates of the vehicles in front and oncoming vehicles can be recognized. At night, the noise is clearly noticeable. Here suffers the image quality, but you can still recognize here some subtleties, such as number plates.
OneConcept Carguard Mini Car Accident Camera
Good workmanship
Many setting options
Easy commissioning
Automatic shutdown
Average video and picture quality
No holder with suction cup
Overall, the OneConcept Dash Cam leaves a very positive impression. The GPS of the camera works perfectly and works exactly. The video and image quality is as far as the price, but could be a bit better. The setting options are numerous and can be adapted to the smallest detail.
What bothers me about this Dash Cam, however, is the attachment by means of an adhesive pad. Here I would have preferred a holder with suction cup. If you are looking for an average Dash Cam with many settings options, which also provides passable results, I can certainly recommend the OneConcept Dash Cam.