Review: Govee Flow Pro Light Bar
Information (August 26, 2022)
Lightning Deal! The stylish Govee Flow Pro Light Bar has made it back into the Amazon range. To get the price of 64,99 euros, you only have to activate the discount on the Amazon product page.
Amazon - Govee Smart LED Lightbar for € 64,99
With this coupon you can buy the Govee Lightbar reduced for only 64,99 €.
10€ Discount
until the end of the campaign
When it comes to smart RGB light columns, the Philips Hue Play Lightbar, released in 2018, was unrivaled for a long time. There has been no comparable product in recent years. That changes with the Govee Flow Pro Light Bar, which is functionally and technically very similar and can be compared to the Hue Play Lightbar.
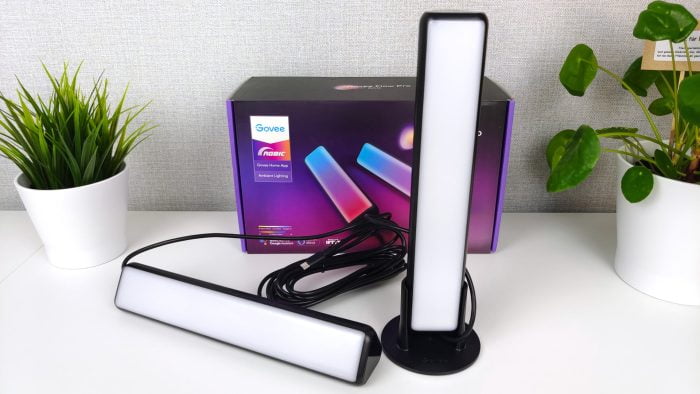
The price is particularly interesting, because the Govee Light Bar Set, consisting of two light columns, a camera and other accessories, costs just under half the Philips Hue Play Light Bar Set (70 euros) at 150 euros.
Scope of delivery and processing
The scope of delivery includes everything you need to operate the light bars. It contains two light columns with a stand and monitor holder, a control unit, a camera, a power supply unit, adhesive foils and a multilingual user manual.
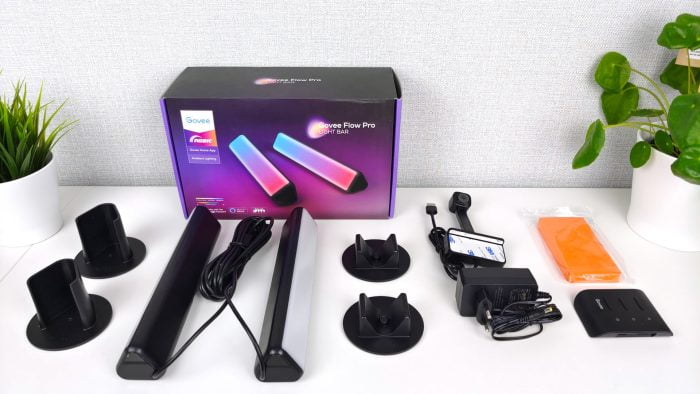
Both light columns are each 25 cm high and connected by a 1,80 m long cable on both sides. This means that the columns can be placed approximately 3,60 m apart. The cable of the camera is 1 m long.
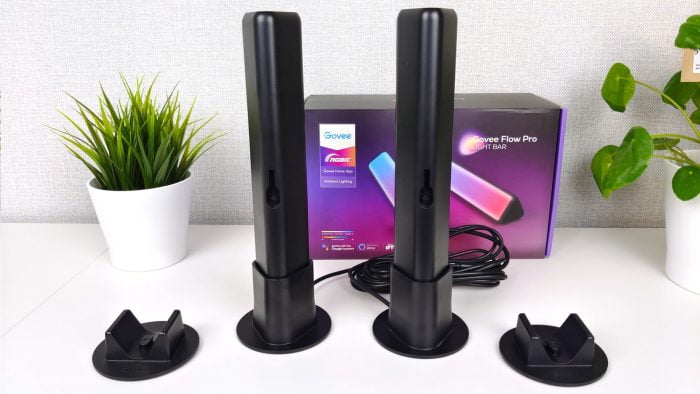
The triangular housings of the light bars are made of plastic. The back is simply black, while the front is milky white. This in turn ensures a particularly soft, diffuse light distribution. The build quality does not come close to the Philips Hue Play Lightbar, but is reasonable for the price.
Installation
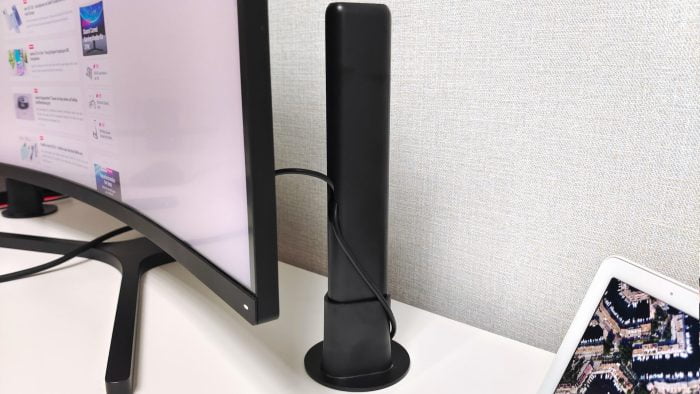
The Govee Light Bars can be used in different ways thanks to the stand and monitor holder. Placing it on its side or connecting it to the base is recommended as pure ambient lighting. The light columns are simply plugged into these.
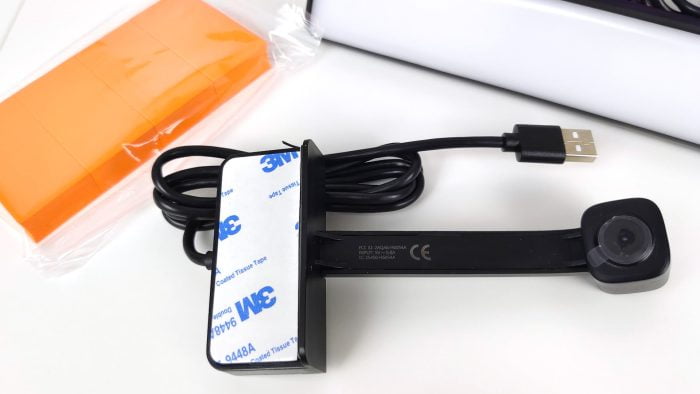
Mounting with a monitor bracket is recommended as a colored accent on the PC monitor or television screen. This is inserted into the indentation provided on the back of the light pillars. Then the light columns are glued to the back of the screen. Adhesive pads (3M) that have already been applied ensure sufficient hold.
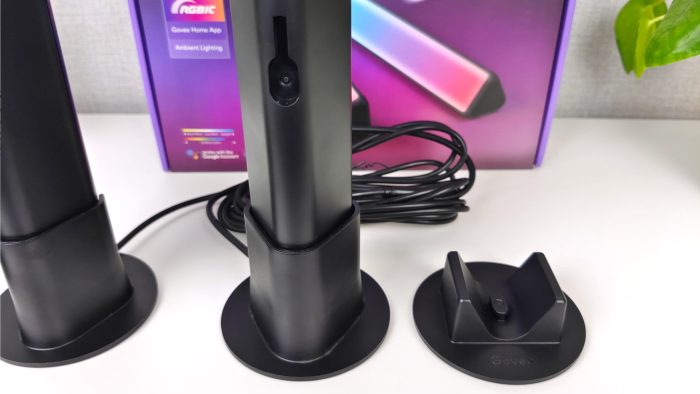
A 12V 2A power supply is responsible for the power supply. The power cable and the converging adapter cable of the light bars (USB-C) are now connected to the control unit. This has 3 buttons, which you can use to switch the light columns on and off, change the color, switch to music mode or adjust the brightness.
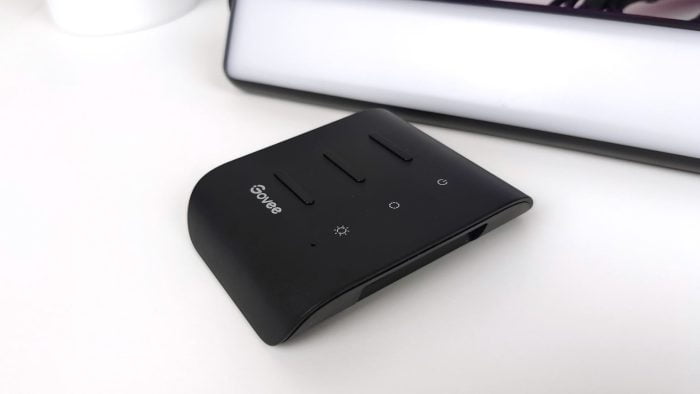
These and other control options are also available via the Govee app.
Furniture
To set up the Govee Flow Pro Light Bars, the Govee Home app is required, which in turn requires the creation of a user account (email). The setup process is well explained and takes just a few steps. The first connection is established via Bluetooth.
In the Bluetooth network, you already have access to most of the customization options and functions. If you want to control the Light Bars via Google Home, Alexa or Siri, a WiFi connection is required.
In order to integrate the Govee Light Bars into the WLAN, the camera included in the scope of delivery must be plugged into the USB-A socket on the control unit. Another setup wizard then guides you through the connection process. 2.4 GHz networks are supported. The connection to a 5 GHz network is not possible.
Unfortunately, the camera has to be plugged in permanently for a WLAN connection. That's a shame if you only want to use the light bars as ambient lighting and don't have to rely on the camera. Integrating the WLAN module into the control unit would have been the better solution.
Smart “ColorSense” camera
The "ColorSense camera" is the key to the color synchronization of the light bars with the screen or monitor. For this purpose, the camera is glued above and in the middle of the screen frame. The camera is easier to mount on straight and flat edges than on curved or angled edges of the screen.
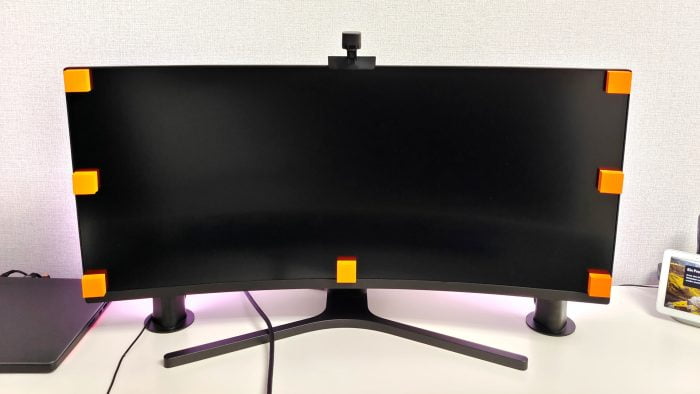
The next step is to glue the orange foam blocks to the corners of the screen for calibration. Use the Govee app to drag the calibration points shown onto the adhesive pads. Then you can remove the foam blocks again. The adhesive pads are reusable and can be removed without leaving any adhesive residue. In theory, calibration is also possible without adhesive pads. In the test there was no difference whether calibration was carried out with or without adhesive pads. Only selecting the corners of the screen during calibration is a little easier with adhesive pads.
The camera then analyzes what is displayed on the screen. Similar to an Ambilight background lighting, the light bars adapt in color to the display of the screen.
field test
The Govee Light Bar with a 34 inch curved monitor was used for the practical test. The installation and set-up turned out to be extremely simple, as already indicated. Despite the curved edge of the screen, the ColorSense camera could be attached without any problems. You can be annoyed by looking at the camera. After all, the camera protrudes visibly over the edge of the screen. Especially with PC monitors that are in close proximity to the viewer, the camera is a bit irritating at first. However, over time you get used to it. If the light bars are only used as ambient lighting, the camera is simply left out.
The Govee Home app provides numerous setting options at hand. The light bars can be switched on and off separately from each other, it is possible to operate the light bars by timer, the brightness can be adjusted in percentages and there is an effects laboratory that can be used to download different color compositions. Functionally, the light bars can be controlled in 5 modes.
Music mode synchronizes sound and color. Here you can choose between the device microphone or the microphone of the connected smartphone. “Device microphone” means a microphone integrated in the control unit. The music synchronization worked well in the test. The color changes are well coordinated with the music and happen quickly. The sensitivity of the microphone can be adjusted using a slider. The color sequence can be individualized using 4 music effects and profound color settings.
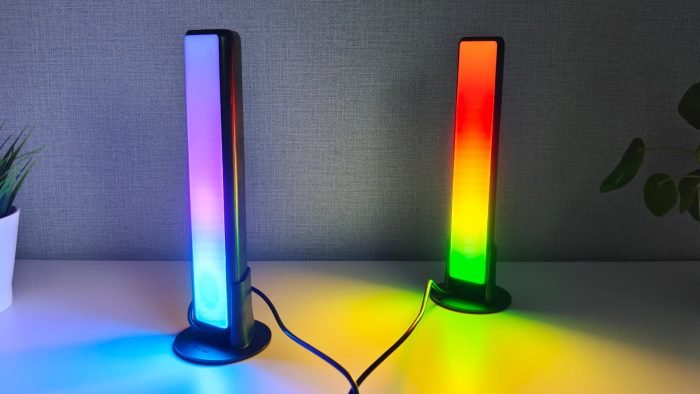
The "Video" mode uses the ColorSense camera. Here you can choose between full screen and split screen and whether it is a game or a film. If you choose "Game", the color changes are particularly crisp and quick. In “Film” the changes are still synchronized with the image, but the transitions are smoother.
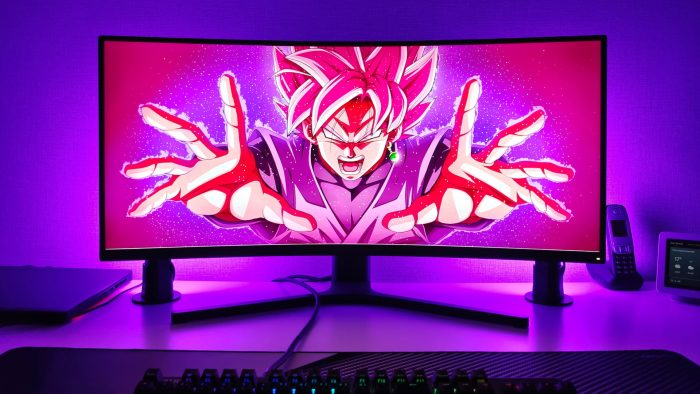
Color matching was not always comprehensible in the test. Although it is obvious that the strongest color is shown in the picture, high-contrast scenes tend to be pink and dark scenes a strong blue. The saturation can be adjusted using a slider. On the whole, the Ambilight effect is convincing and it is visibly more fun to watch a film or play a game with the light bars.
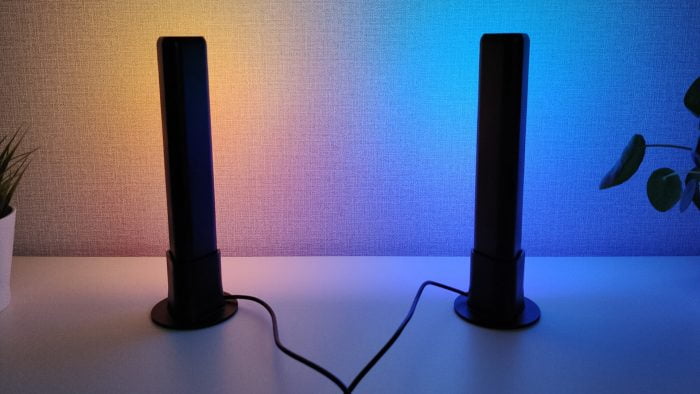
The "Color" mode is intended for use as ambient lighting. Each light bar is divided into 6 sections, which can be adjusted in terms of brightness, color and hue. So that you don't have to reconfigure the Light Bars every time, it is possible to save the settings in profiles.
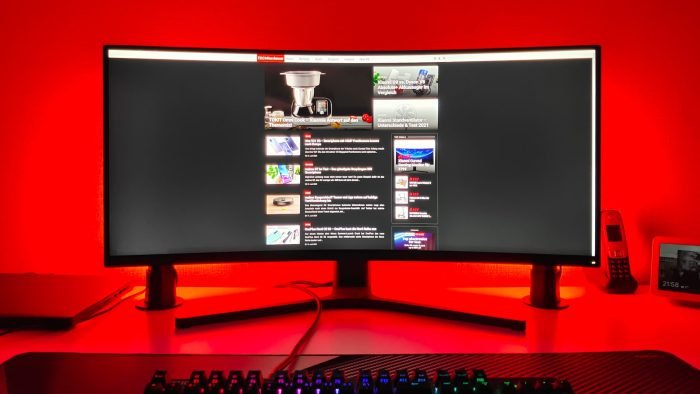
The "Scene" mode provides 12 different effects at hand. One effect simulates flickering candlelight, another simulates falling snowflakes. Each mode offers its own color change.
The "DIY" mode is an editor for effects. Colors and processes can be created and saved in profiles.