ATEZR P10: Unboxing and build
The ATEZR P10 is delivered in first-class packaging. As soon as it is delivered, it becomes clear that we are dealing with a larger device. All individual parts are embedded in a protective foam insert, so that damage in transit is unlikely.
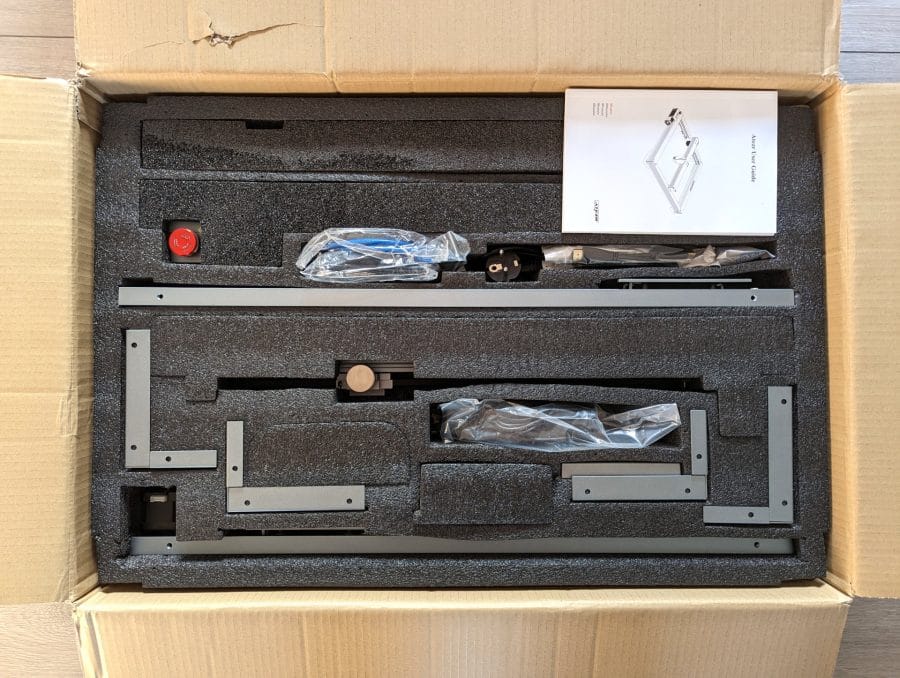
The ATEZR P10 comes in well-protected packaging.
The aluminum frame is disassembled into four individual parts and must first be assembled. The instructions included for assembly are illustrated and explain in understandable German (and other languages) how the parts are put together.
The bags for the screws are also labeled according to the individual assembly steps, so that you know straight away which screw goes where.
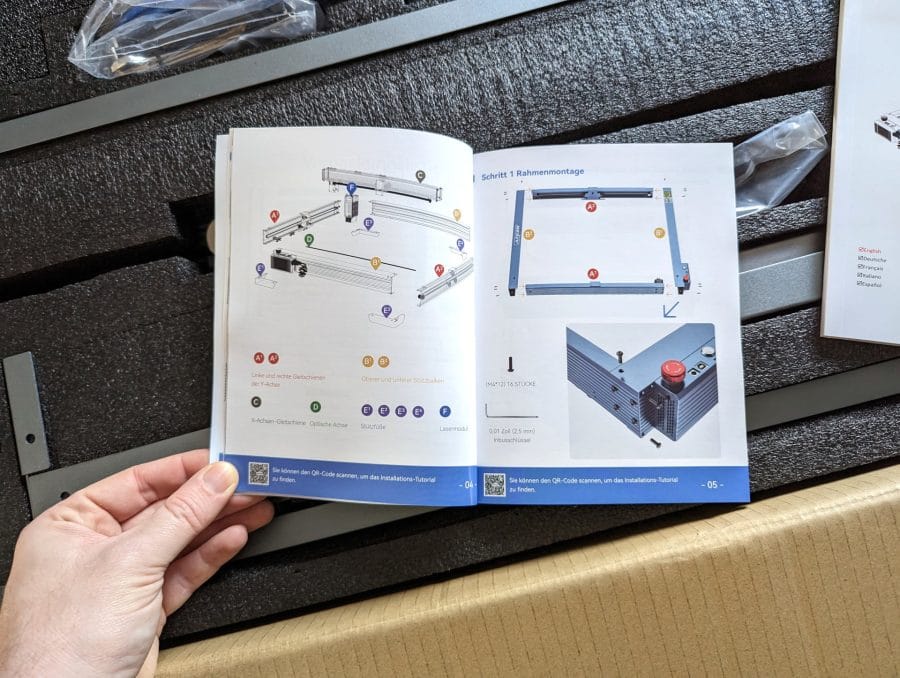
The individual assembly steps are well explained.
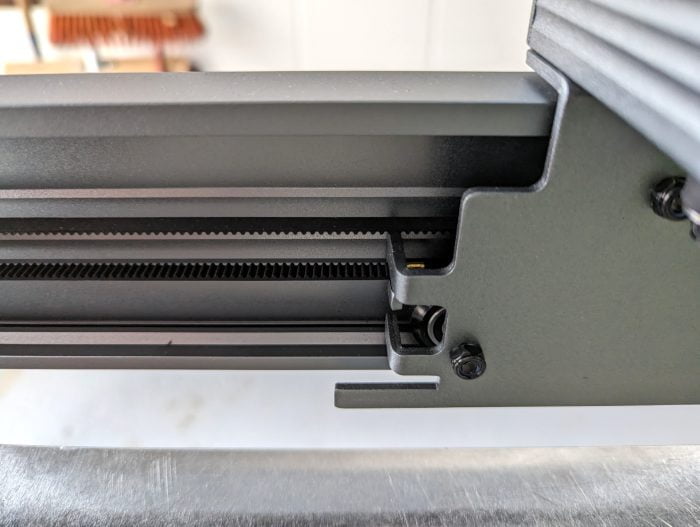
You don't have to worry about the stepper motors, limit switches and belts. They are pre-assembled from the factory.
After the frame parts are connected to each other, we only have to screw the feet to the frame, insert the drive rod and slide in the laser module at the intended location.
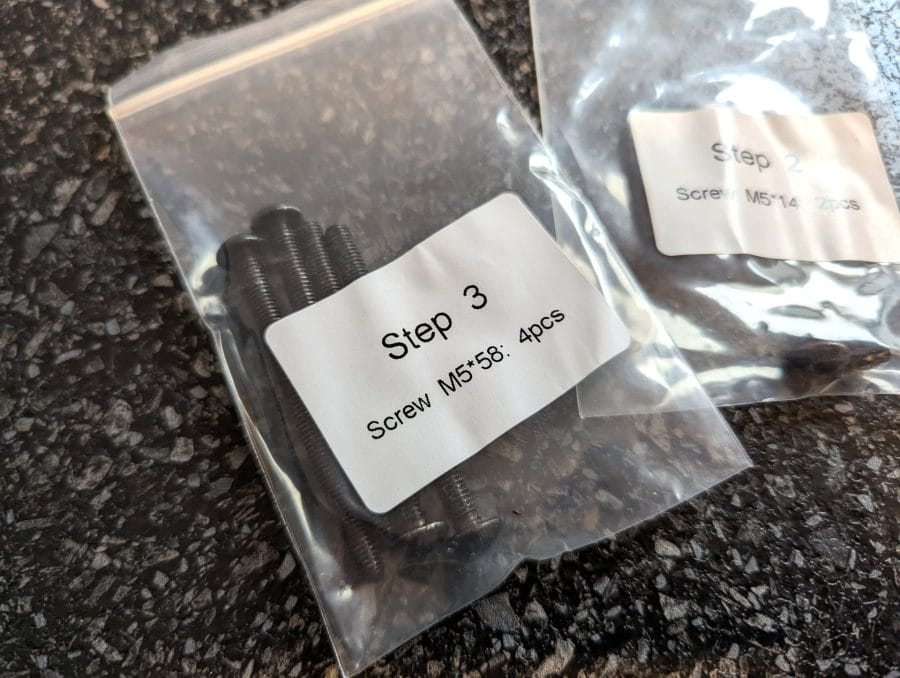
You know straight away which screws are in which bags.
The wiring also does not cause any problems and is well explained in the instructions. All cables are already connected from the mainboard and only need to be connected to the stepper motors, limit switches and the laser. Adhesive cable clamps are included in the scope of delivery for better cable routing.
The cable clamps are simply glued on.
The entire setup of the ATEZR P10 takes about 25 minutes. The tool required for assembly is included in the scope of delivery.
The scope of delivery also includes various accessories. Worth mentioning is the magnetic display with HDMI cable that can be attached to the frame. Also included is a USB stick containing the digital manual, various software (Lightburn & LaserGRBL), templates and profiles.
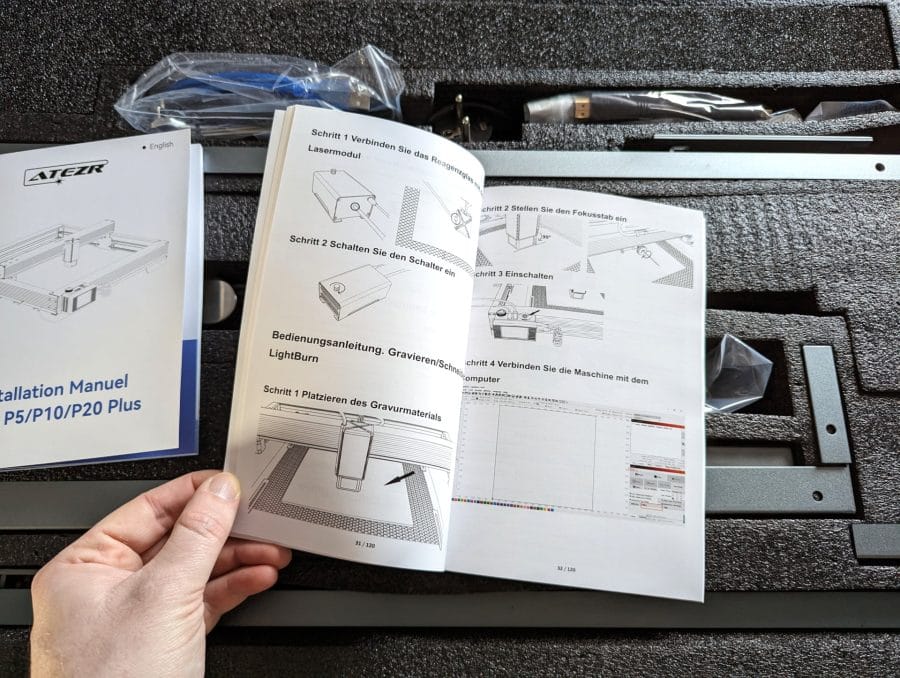
Operation is explained in another manual.
The scope of delivery is rounded off by a 120W power supply unit, laser safety goggles (without CE certification), a metal pad in DIN A4 format and a few wooden and acrylic sample plates.
ATEZR P10 combo
The ATEZR P10 is available in different versions. The P10 Combo Set also includes the ATEZR KA Air Assist and the ATEZR KR Rotary Roller.
On Manufacturer's website other suitable accessories are also available, such as the foldable ATEZR AS laser safety hood (189,99 euros) or the ATEZR F4 honeycomb panel (119,99 euros).
ATEZR P10: features and equipment
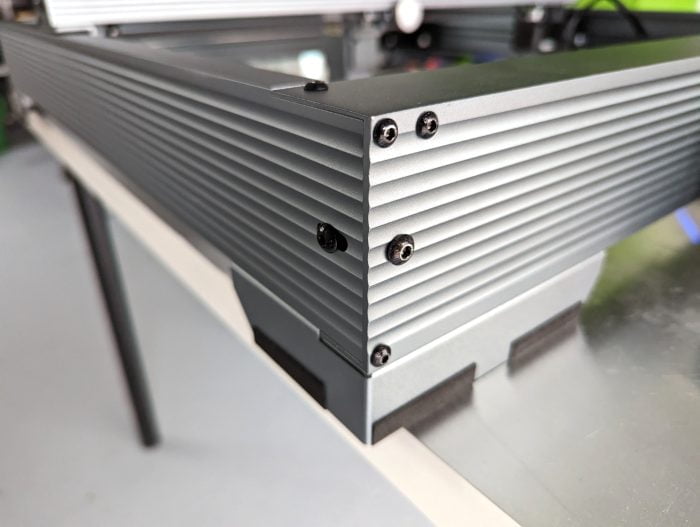
size and stability
When set up, the ATZER P10 measures an impressive 64,4 x 68 x 16,8 cm and weighs 10,93 kg. The massive and very well processed aluminum profiles give the construction excellent stability. The laser engraver is non-slip on the rubberized feet.
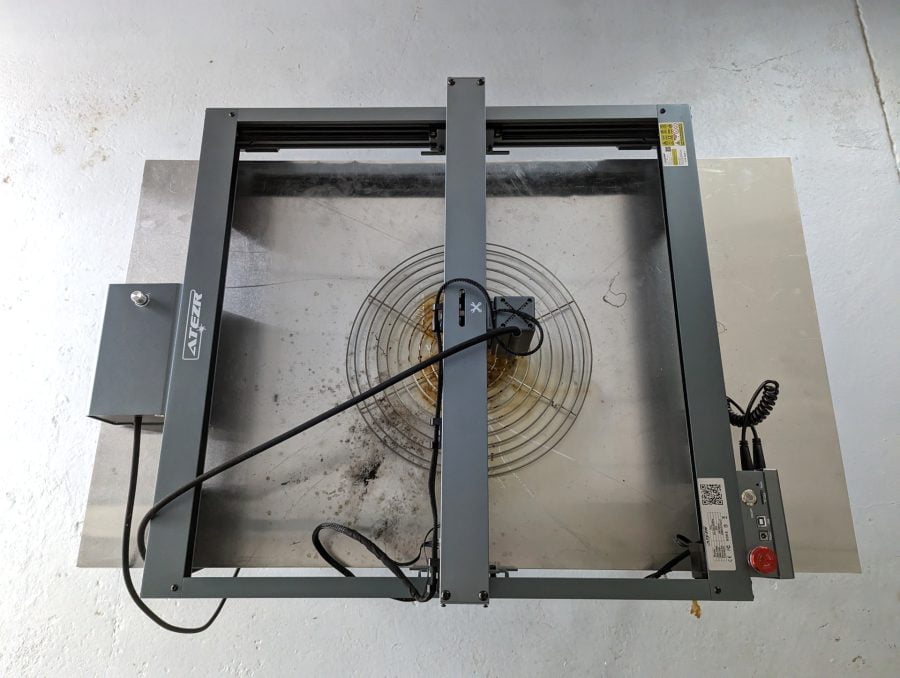
The ATEZR P10 looks like this when assembled.
Not only the construction is powerful, but also the work surface. With an engraving and cutting area of 430 x 430 mm, the ATEZR P10 is superior to many competitors.
laser module
The class 4 laser module with a fixed focus has an input power of 24V 1.5A and an output power of 10-12 watts in the 455nm wavelength range. Matching the frame, the laser module is also housed in a high-quality aluminum housing.
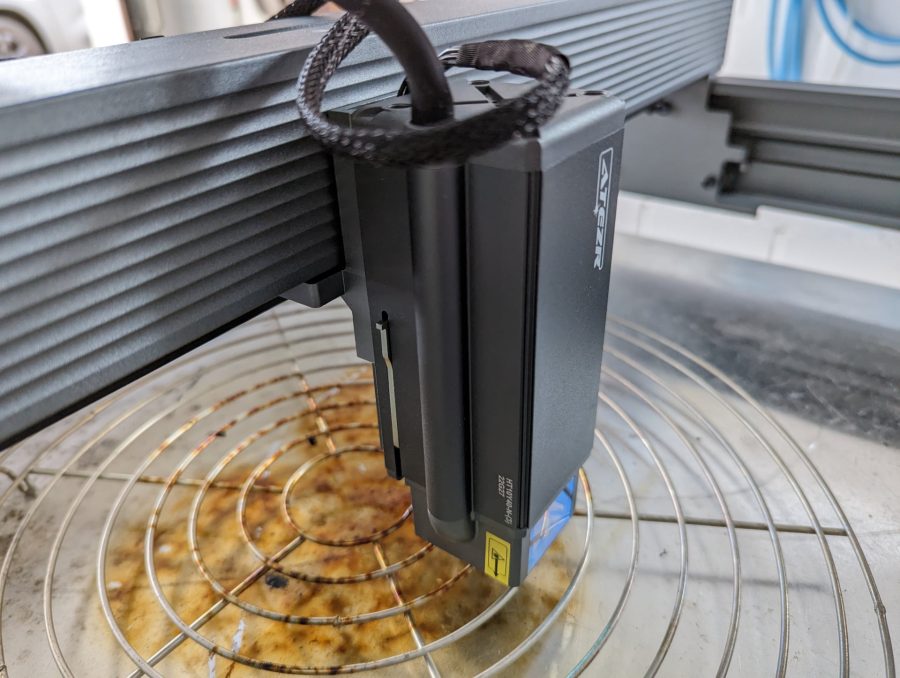
The fold-out spacer is located on the side.
The laser module is locked in the suspension at the desired height with an adjusting screw. The spacer integrated into the housing is particularly practical, with which the focus can be adjusted in no time at all.
Unfold the spacer, lower the laser over the production part until it rests with the spacer, fold the spacer back in and the focus is set correctly.
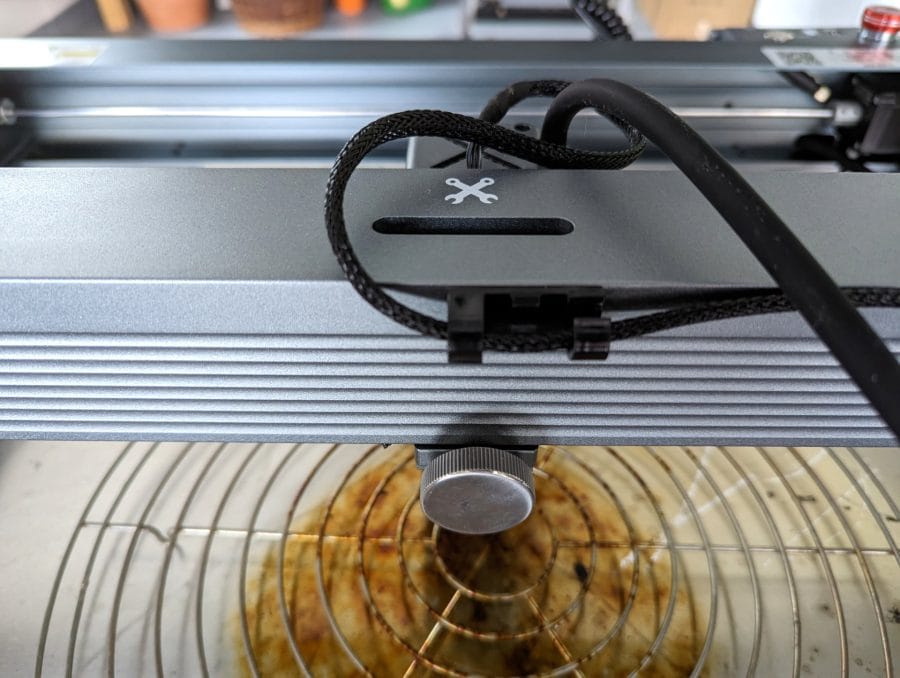
The laser is locked in height with this adjusting screw.
The provision for the Air Assist is already integrated into the laser module, so that only the hose has to be attached from above.
A safety feature of the ATEZR P10 laser module is the filter glass, which is designed to suppress stray light by up to 97%. Nevertheless, you should never work without safety goggles!
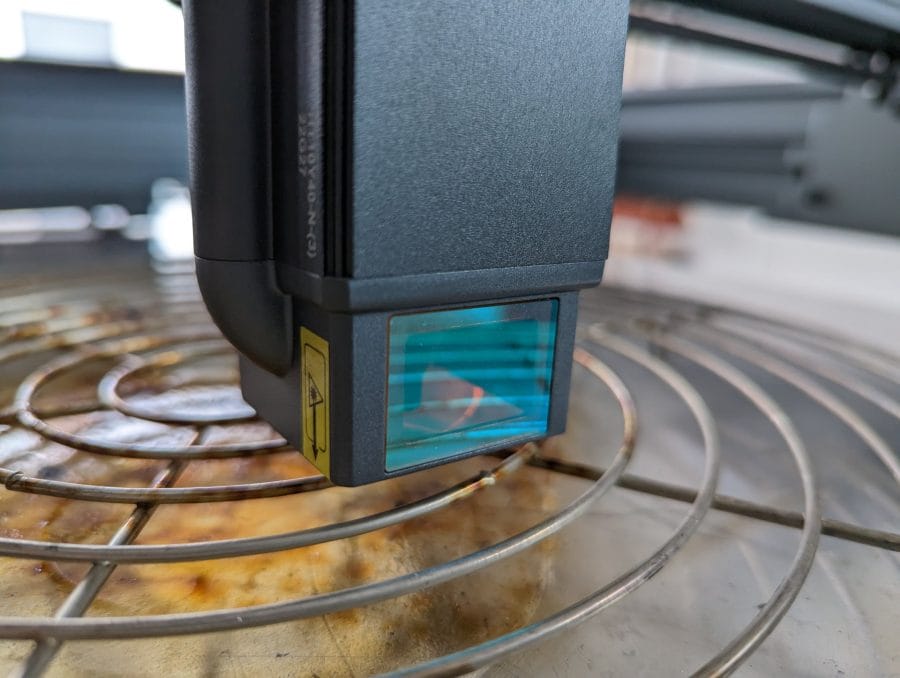
The filter glass reduces stray light by up to 97%.
ATEZR P20 Plus
As the ATEZR P20 Plus, the same laser engraver is also available with a more powerful 20-24 watt laser module, which, among other things, is able to cut 15 mm thick wooden panels made of lime tree in a single pass.
motherboard and electronics
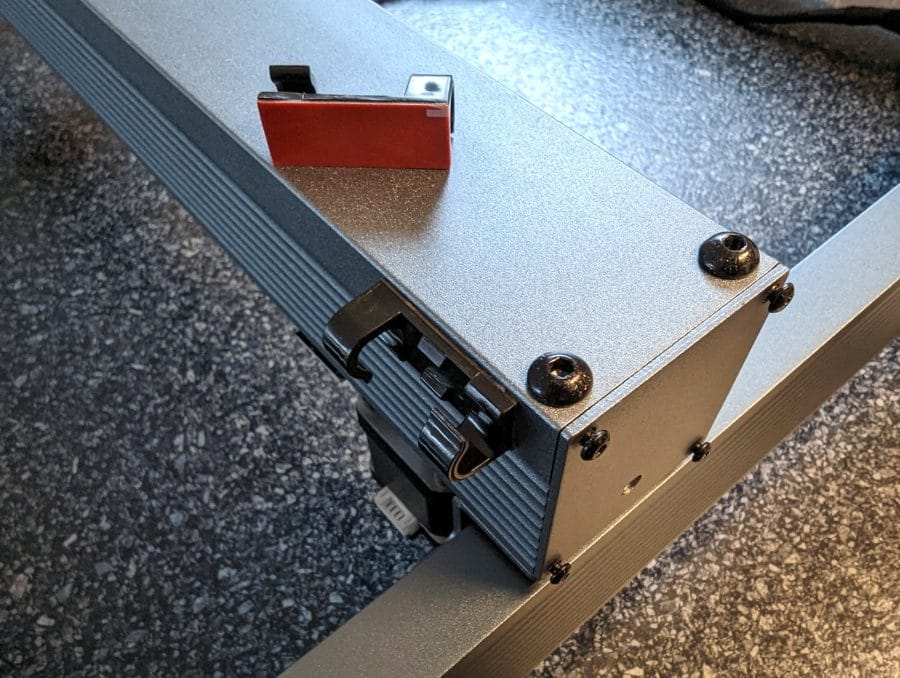
The electronics of the ATEZR P10 are housed in a narrow box on the frame. The mainboard is mostly unspectacular GRBL fare. The emergency stop switch is located on the left, easily visible and accessible from above.
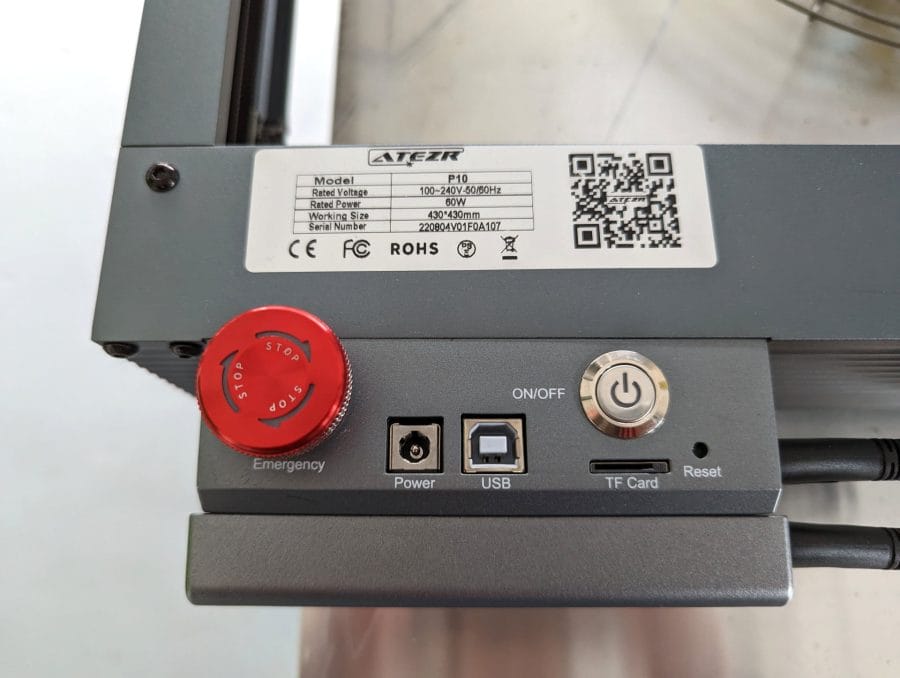
At this point, the laser engraver is operated.
In addition, we have the power connector, a USB-B connector, a microSD memory card slot, the on-off button and a reset button.
There is also a touch display. It is not directly integrated into the frame but can be removed separately. The connection between the display and the laser engraver is made using an HDMI cable. In the test, however, it quickly became apparent that the display was of no greater use.
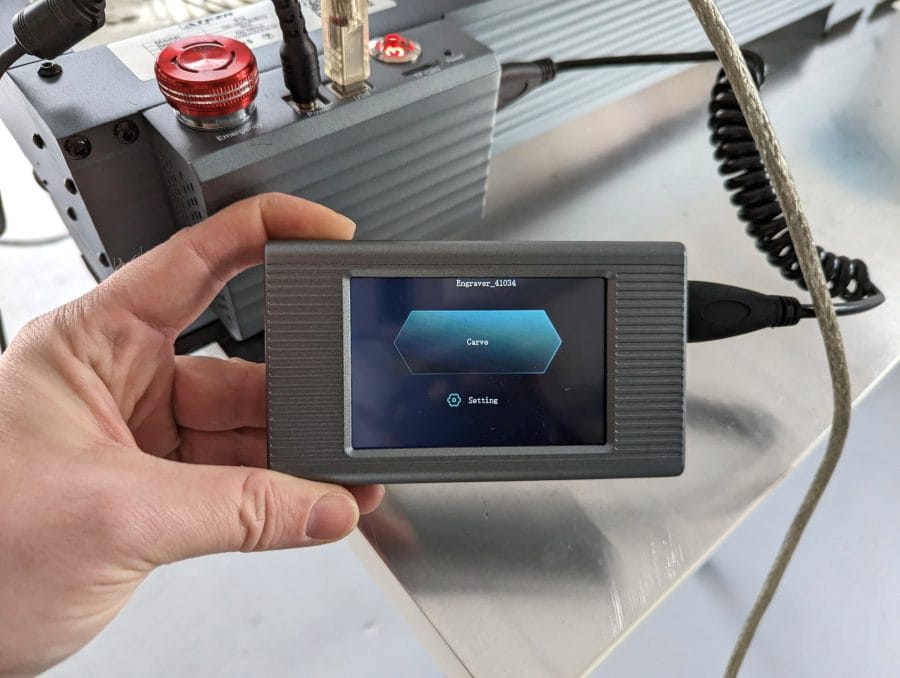
The touch display with color display, but without much use.
Settings via the display can only be made if an SD memory card with a template file is inserted. If you work with the ATEZR P10 via the USB connection, you cannot do anything with the display.
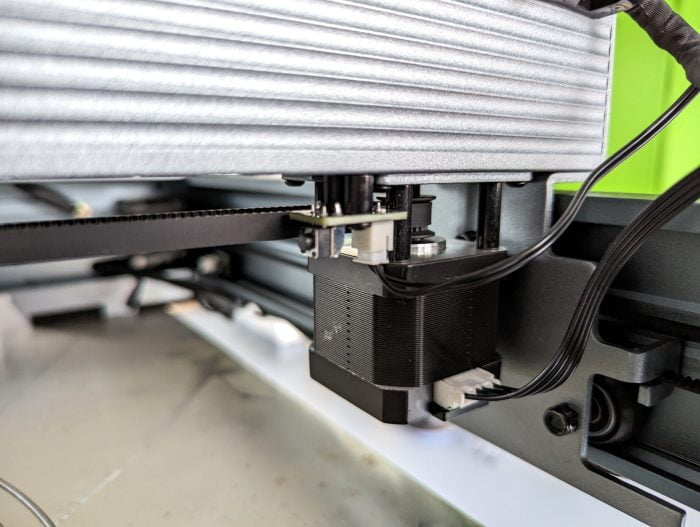
If you take a look behind the electronics box, you will not only notice a stepper motor and limit switches, but also a WiFi antenna. Another function of the ATEZR P10 is operation via app via WLAN.
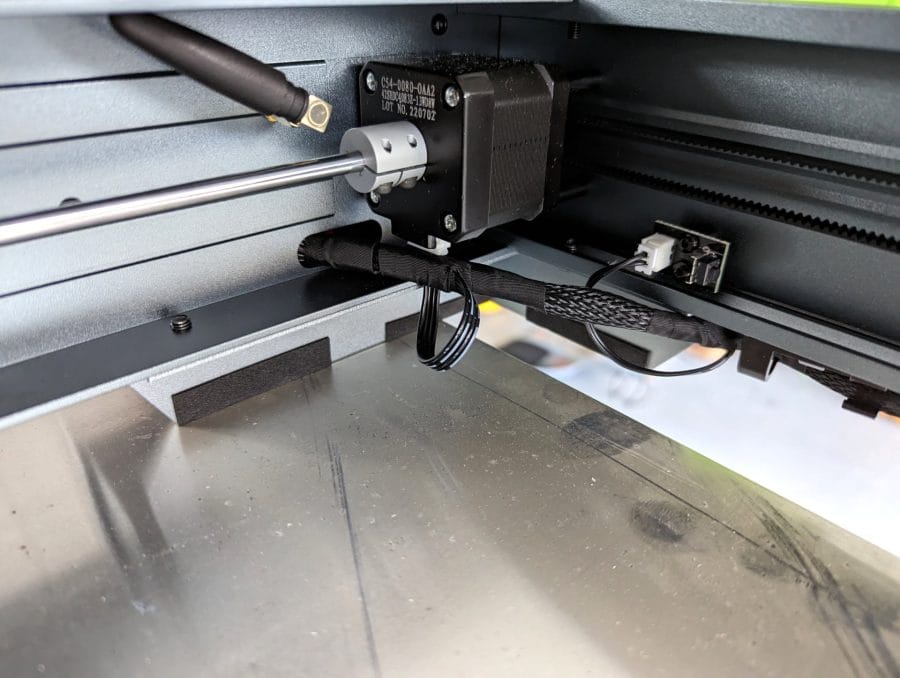
The WiFi antenna right next to the stepper motor.
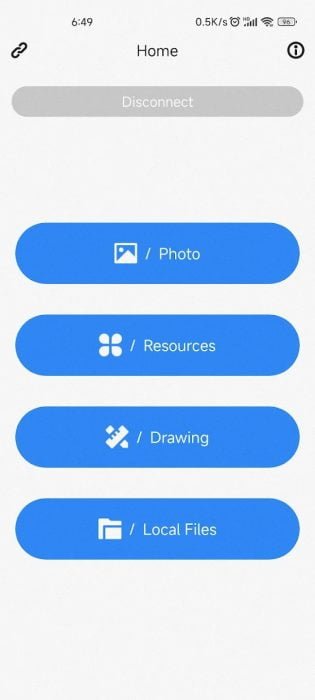
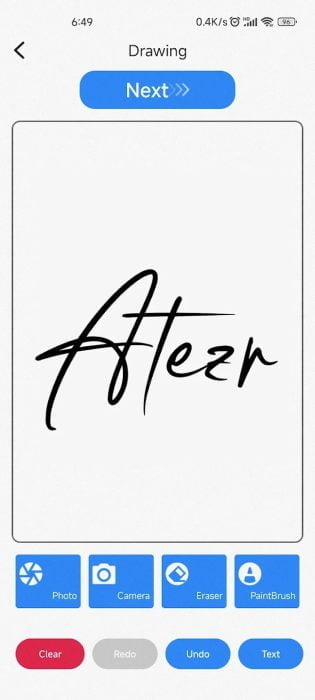
This requires the ATEZR app, which can be downloaded from the Google Playstore and Apple App Store. The laser engraver creates its own WLAN, which you can connect to with your smartphone or tablet.
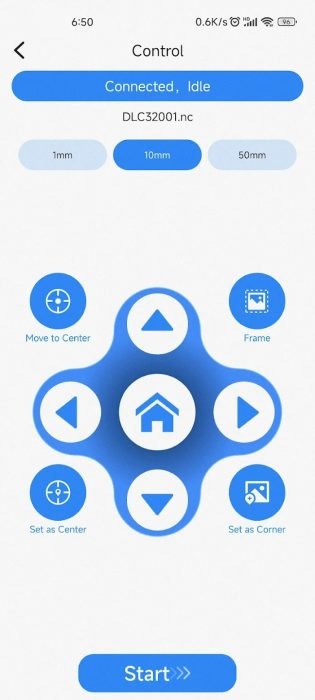
The connection is also recognized in the app, but when it comes to transferring a file to the laser engraver, the transfer fails with an error message. Thus, the app, like the display, is initially unusable. It remains to be seen whether ATEZR will offer updates both ways.
ATEZR P10: Engraving and cutting
For my first engraving and cutting attempts with the ATEZR P10, I connected the device to the laptop via USB. For the software, the manufacturer himself recommends using Lightburn (paid) or LaserGRBL (free and open source). Both installation files are on the supplied USB stick. However, it is advisable to download the software in the current version directly from the respective developer.
For Lightburn, there is even an lbdev file on the USB stick that can be used to import the correct device settings. In addition, buyers of the ATEZR P10 have the option of obtaining a valid Lightburn license from ATEZR free of charge. Information on this is available below Link.
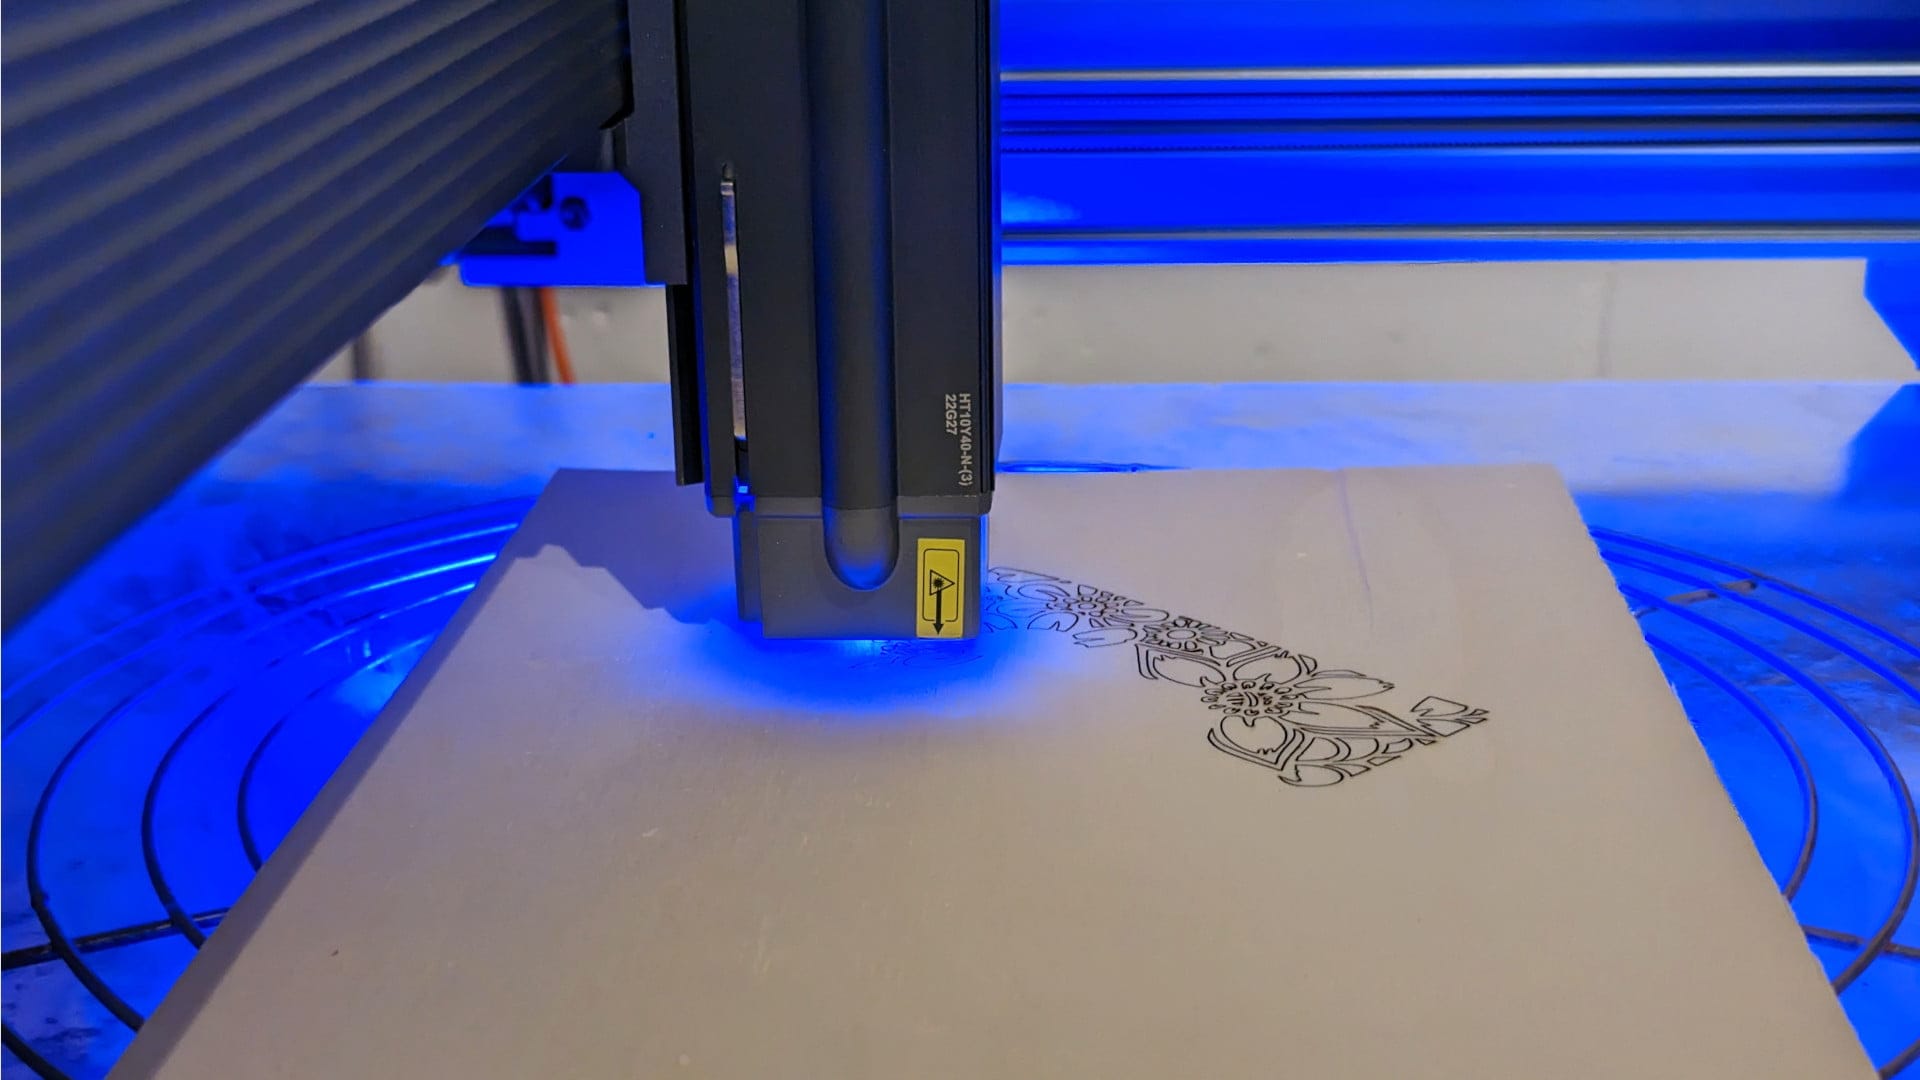
engraving
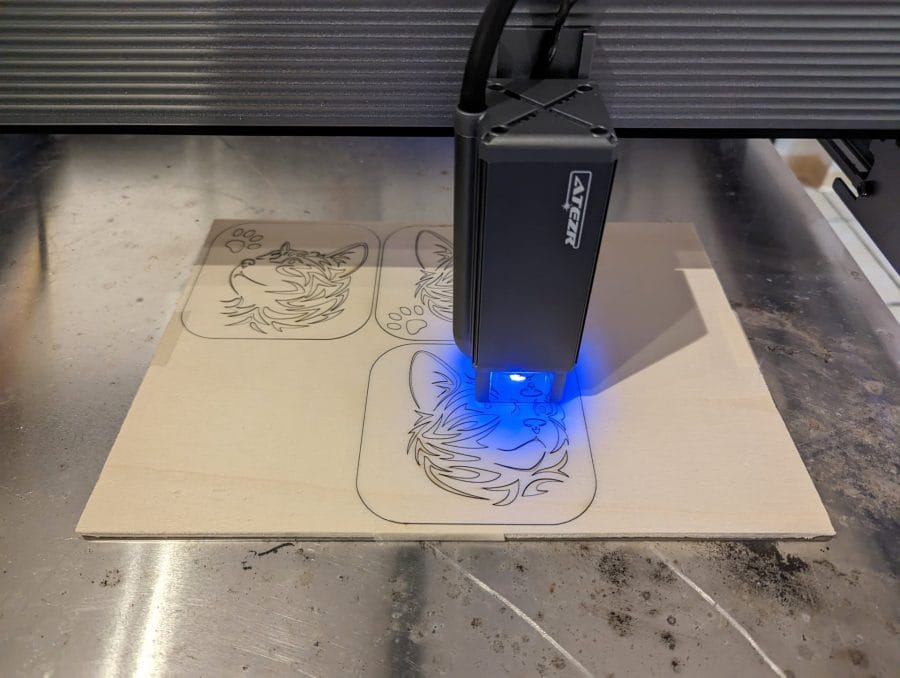
The first steps with the ATEZR P10 quickly delivered usable results. The supplied manual provides guideline values, with which speed and which laser power you should process which material.
However, these are only indications that I had to correct in the test depending on the template. Ideally, you create your own table with values in the course of use.
Roughly speaking, it can be said that the values given in the manual can be increased by a good 10-15% in order to achieve an ideal result.
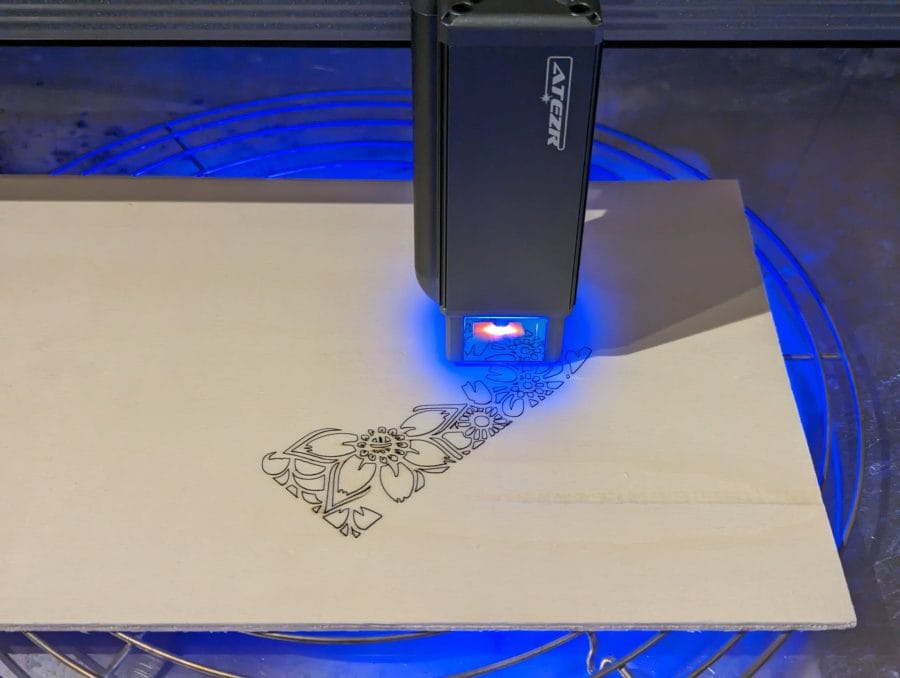
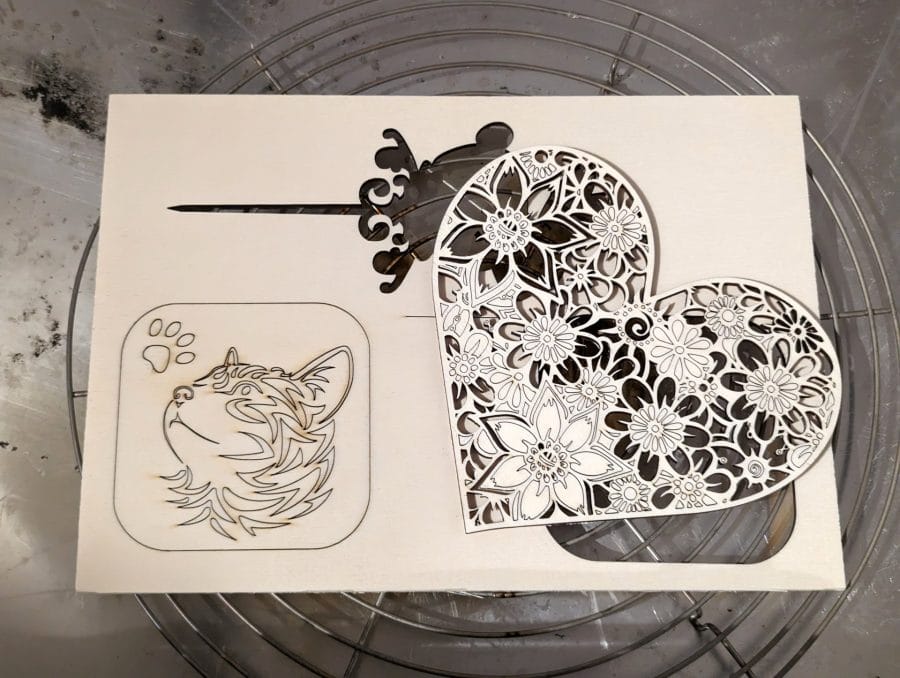
When engraving plywood (poplar), the best results were achieved with 40% laser power and 3000 mm/minute in the 20-100% black value range.
The Air Assist proved to be a useful support during engraving in order to avoid the burning effect in the surrounding engraving area. The Rotary Roller can also be used to engrave round objects such as bottles or glasses. It is connected to the laser engraver instead of the Y-axis stepper motor.
Cutting
The ATEZR P10 also shows a first-class cutting image when cutting. The laser cuts a 4 mm thick poplar plywood board with 80% power and 300 mm / speed in just one pass.
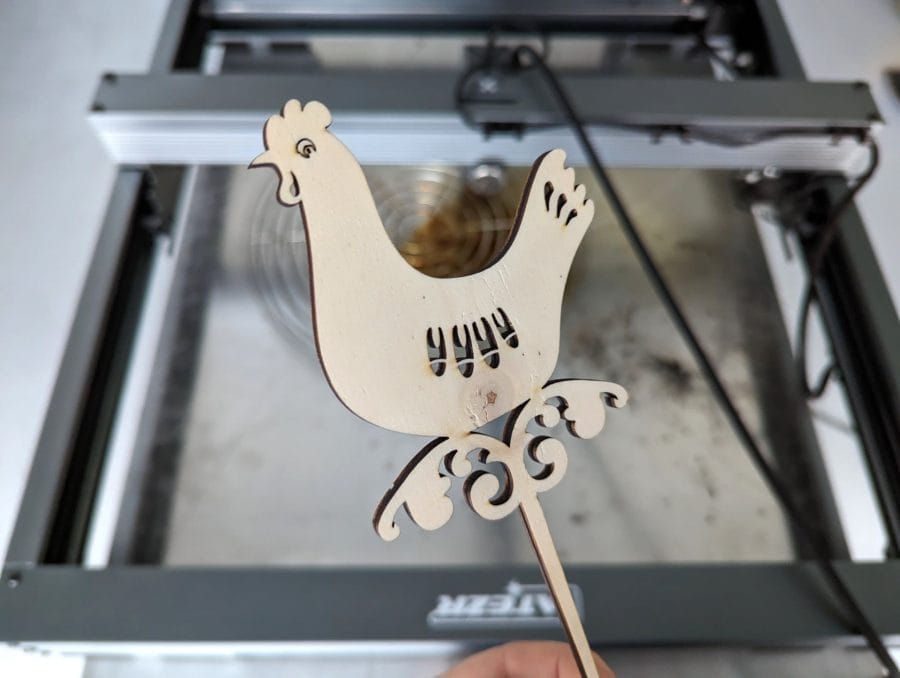
The cut is already extremely clean without Air Assist and is even cleaner and faster with Air Assist. However, you should not turn the Air Assist up too high. In the test, if Air Assist was too strong, small pieces of wood were blown onto the cut surface, which the laser module then dragged along.