First impression of the B6AC V2
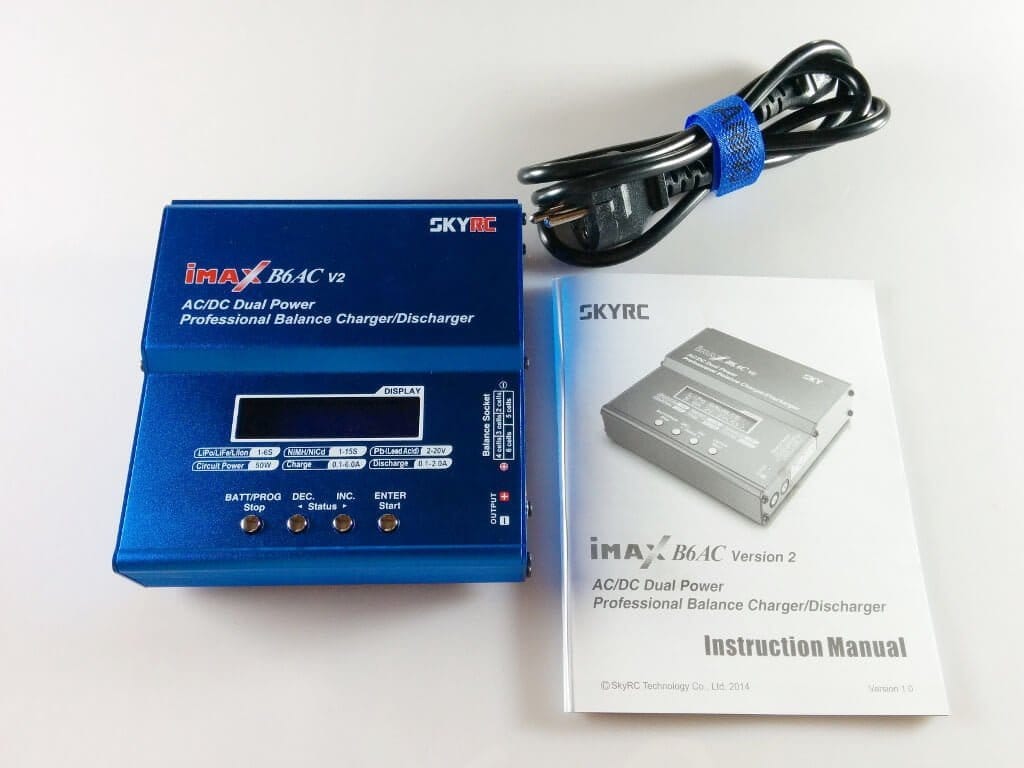
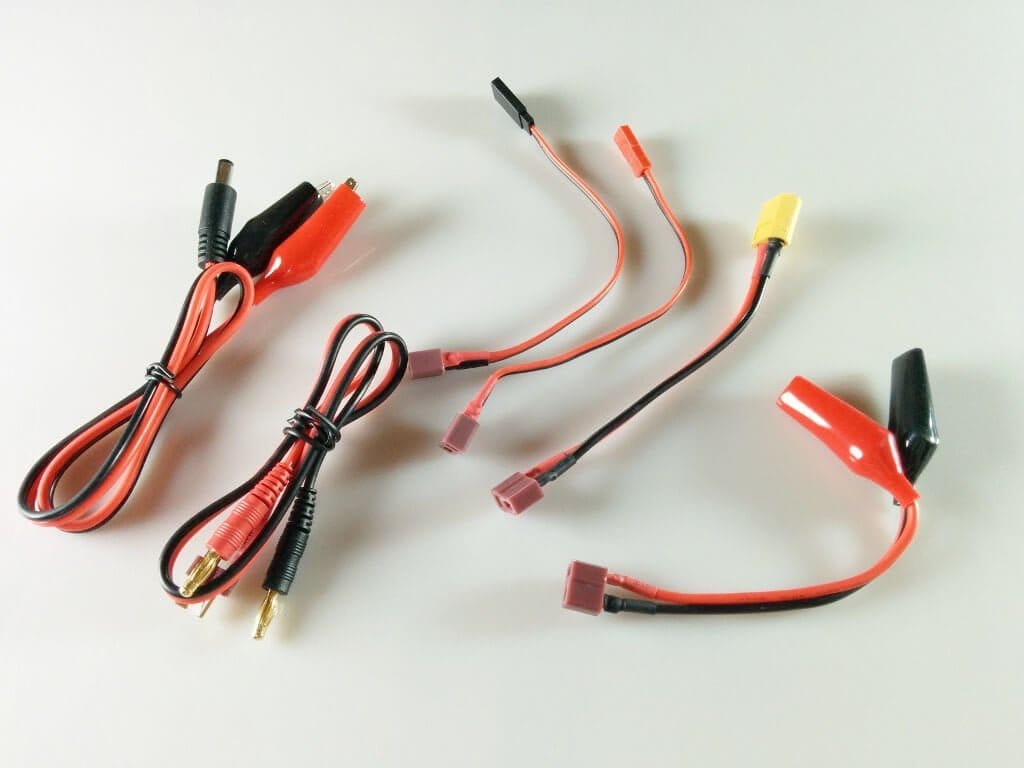
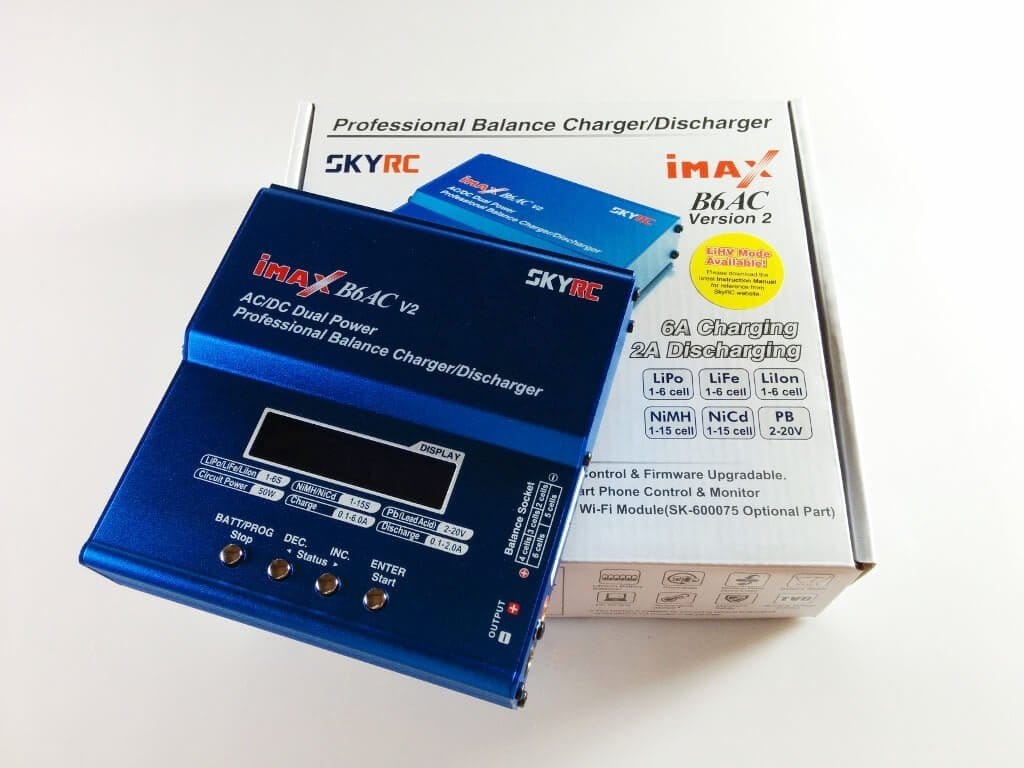
The box of the B6AC V2 is literally bursting with information and is already a pleasure to unpack. In addition to the charger, the scope of delivery also included all kinds of connection cables with alligator clips, XT60, Futaba and JST sockets. An adapter cable with a banana plug was also included. Of course, a power cord and an English-language instruction manual were also included.
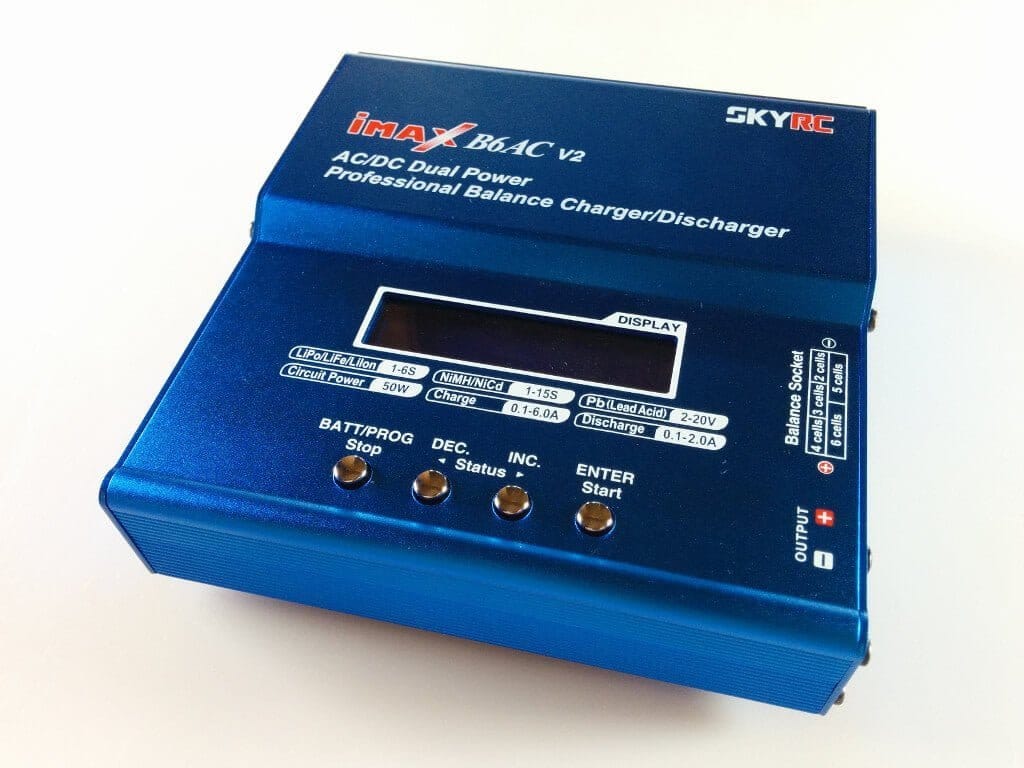
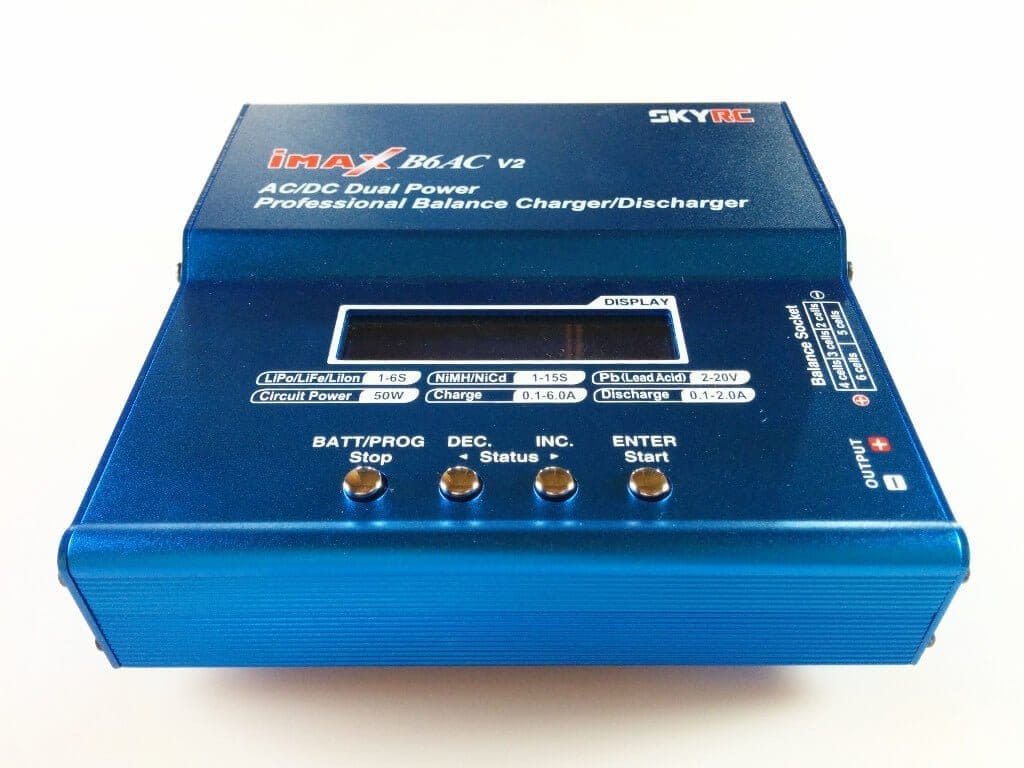
The workmanship of the charger is good. The housing is made entirely of aluminum and is labeled in great detail. Where what is located and what the device can ultimately do is already printed on the housing. The integrated LCD display is backlit and easy to read.
On the left side of the housing there is an AC input (240V 50/60 Hz), a DC input (11-18V), a micro USB socket via which the B6AC V2 can be connected to the PC and a connection option for a temperature sensor, the is not included in the scope of delivery. The WiFi module is also not included, with which the charger can also be operated with a suitable app.
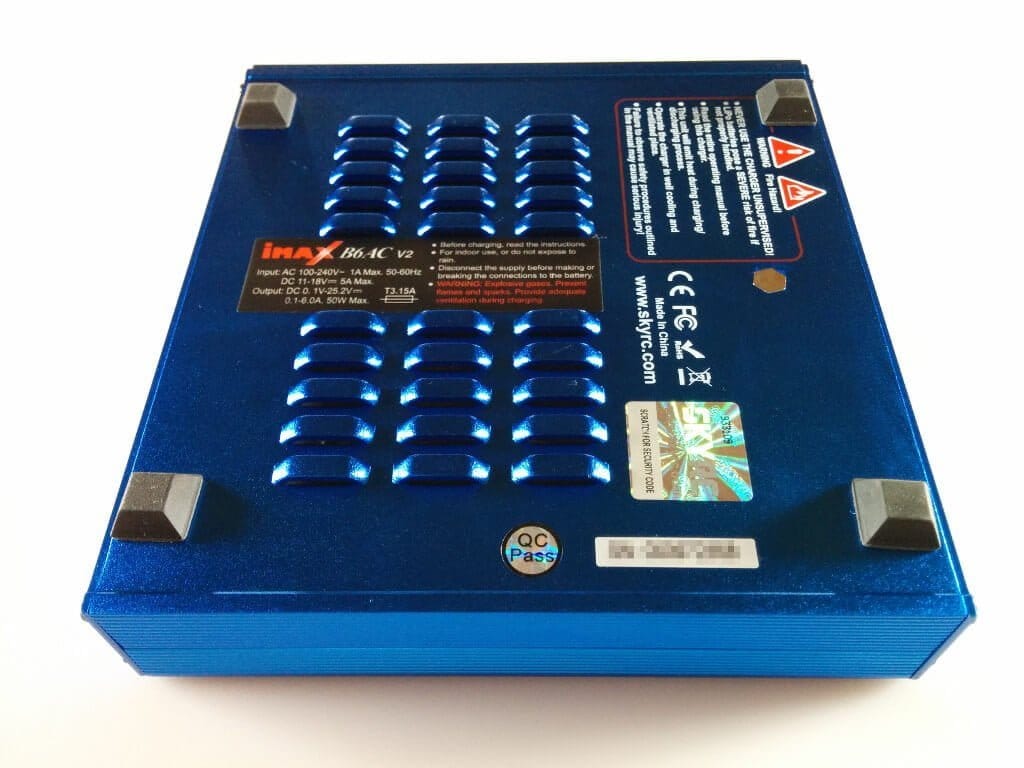
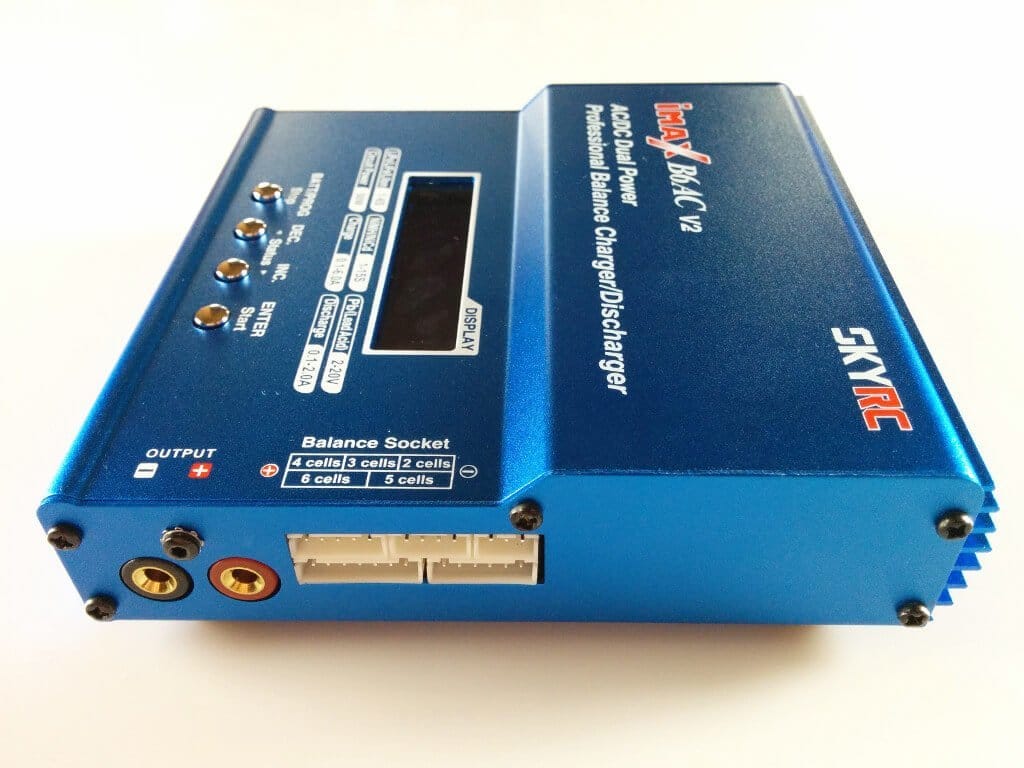
The balance sockets (up to 6 cells) and the charging port are located on the right side of the housing. The SkyRC certificate of authenticity was also affixed to version 2 on the back, which can be rubbed off underneath. With the scratched number, the authenticity of the device can then be checked on the manufacturer's website. You should definitely carry out this check as there are already numerous counterfeits of the previous model in circulation. Version 2 forgeries are currently not known.

Commissioning and functions
The SkyRC charger can be powered via the AC or DC input. Thus, for example, the SkyRC B6AC V2 can be operated directly with a 11-18V battery, which was previously possibly used in its quadrocopter.
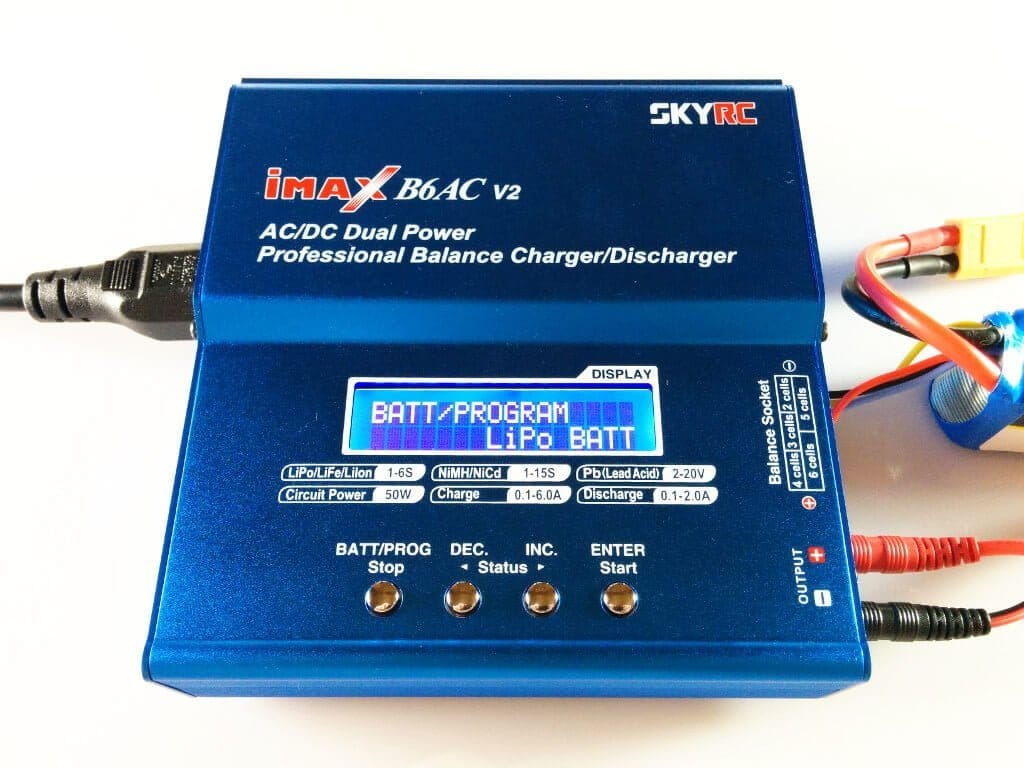
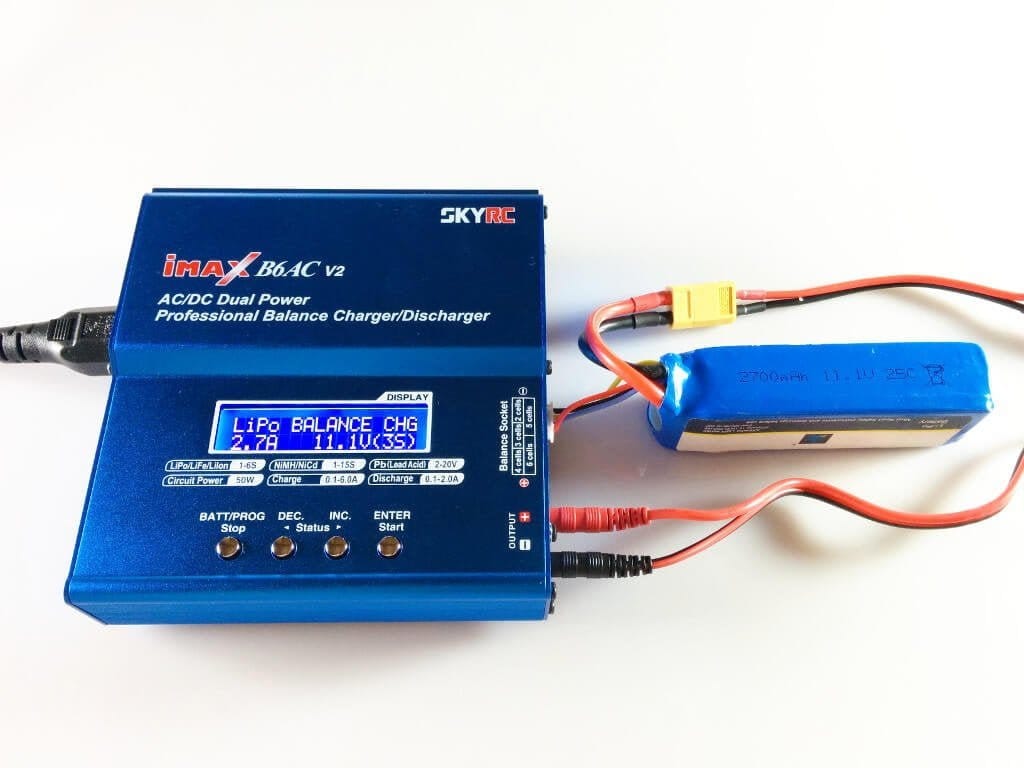
Using my Cheerson CX-20 LiPo with 11.1V and 2.7A, I would like to describe the charging process in more detail. Before connecting the charger to the power supply, the battery should already be connected. To do this, connect the balancer cable to the balance socket and use the appropriate adapter cable to connect the charging cable to the XT60 connector of the LiPo. In any case, you should first connect the adapter cable to the charger and only then connect the battery. Otherwise there is a risk of a short circuit.
If the battery is switched on and the charger is connected to a power source, we can select or adjust our desired configuration via the display and the menu buttons. The B6AC V2 can charge LiPo / LiFe / LiIon batteries with 1-6 cells, NiMH / NiCd batteries with 1-15 cells and lead batteries with 2-20V. It is charged with 0.1-6.0A, discharged with 0.1-2.0A.
Before we select our suitable battery type, we can make various settings in the system settings. Among other things, the following can be set here: a safety timer, a capacity cut-off, a temp cut-off, the temperature unit, the rest time, the NiMH / NiCd sensitivity, the sounds and an input power low cut-off. In addition, the firmware and hardware version as well as the serial number can be displayed.
In addition to the charging function, there is also a charge status indicator that can be used to display the volts of the individual cells, the resistance of the battery can be measured and individual charging profiles can be created.
Once you have selected the right battery type in the start menu, in my case "LiPo", you can then choose between different modes.
Balance charge
In this mode, the voltage of each cell is adjusted during charging.
Charge
The charger charges the individual cells to the specified voltage and then keeps them at the constant voltage.
Fast Charge
In this mode, the cells are only charged up to set voltage. The constant voltage is not kept, which is why the battery is usually only charged by 80%.
Storage
The cells of the battery are charged / discharged to the best possible voltage for storage.
Discharge
Discharge the cells
For the other types of batteries there are correspondingly adapted modes. For the NiMH and NiCd batteries these are Charge, Auto Charge, Discharge, Re-Peak and Cycle. For Lead-acid batteries there are the modes Charge and Discharge.
The individual LiPo modes I've tried with the stick Cheerson CX-20 LiPo. Balance mode works as expected and is accurate. For independent verification you can use a LiPo-Checker or measure with a multimeter on the balancer connector. The storage mode works exactly as well and the B6AC also manages the unloading and recharging as desired.
Software
If you want to operate the SkyRC IMAX B6AC V2 on your PC, the manufacturer provides the so-called "Charger Master" software on the official website. The B6AC V2 can then be configured as required using a graphic interface. The configuration options are the same as those that can also be selected directly via the device. Firmware updates can also be uploaded to the B6AC V2 via the software.
SkyRC Imax B6AC V2
Good workmanship
Safe charging
Good balancer
What's in the box
"Charger Master"
No CD with "Charger Master"
The SKYRC IMAX B6AC V2 Charger is an inexpensive charger that safely charges your lithium, nickel and lead batteries. The workmanship is good and comes with numerous adapter cables included. The operability is simple and understandable to laymen. The "Charger Master" software is an interesting additional feature that gives the charger the finishing touch.


Andreas
11. August 2016 16 to: 18
So when I read something like this: “In any case, you should first connect the adapter cable to the battery and only then plug the banana plug into the charging socket. Otherwise there is a risk of a short circuit. “I get goose bumps !! This can not be!??? Or how is that meant? Can it happen that easily?
Timo admin
11. August 2016 16 to: 46
Hi Andreas, thanks for the hint. This is of course wrong formulated and I will correct the mistake quickly! I actually meant you should first connect the adapter cable to the charger, then connect the battery and only at the end turn on the charger. If you first connect the battery with the adapter cable, it can quickly happen that the two banana plugs touch and it comes to a short.
Winni
26. February 2019 19 to: 01
Yes, that can happen. Of course it is good to know that such texts are also read well and lead to corrections.
Heliman
7. November 2023 06 to: 06
As I don't get wrong, it should turn on the charger first and wait for ten seconds that everything is stable, then you may connect the battery to the charger, am I correct?